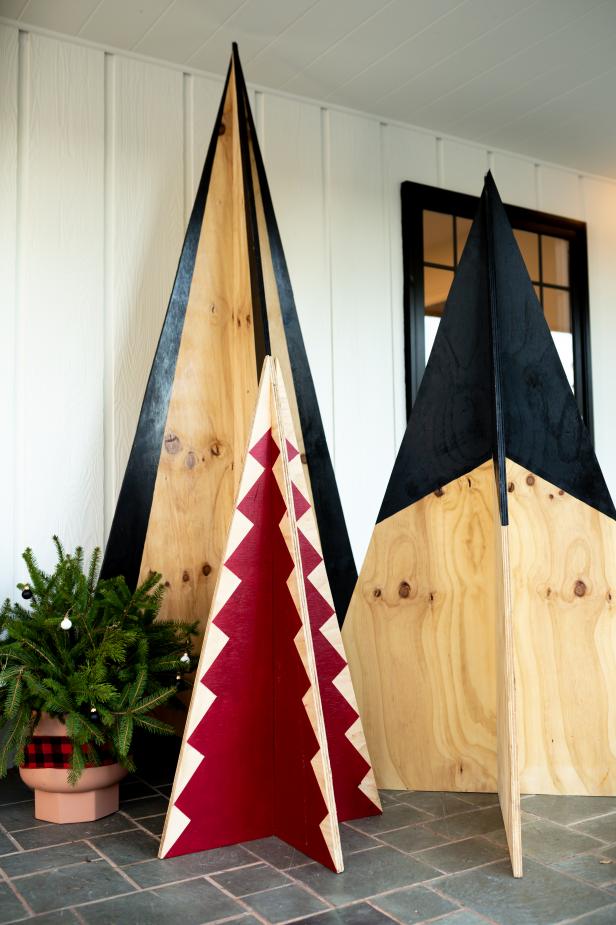
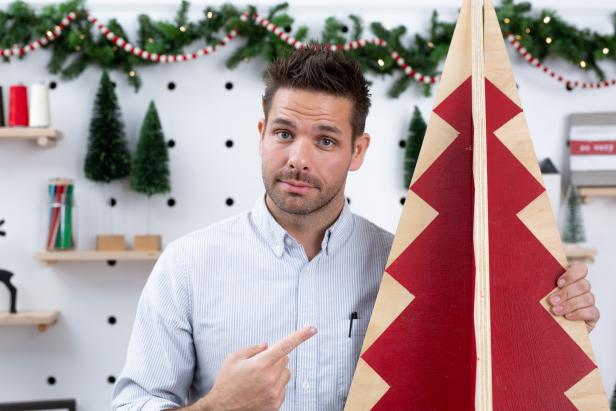
Hgtv – Love modern Christmas decor? Host Jason Pickens has the perfect project for you! Instead of the same cutesy outdoor decorations, you can make these seriously chic Christmas trees with just two pieces of plywood! Yep, all you need is two pieces of scrap wood and a free afternoon. Read on for the how-to and deck your yard with this super trendy DIY.
Cassidy Garcia
Materials Needed
- 2 4’ x 8’ sheets of plywood
- tape measure
- circular saw
- safety glasses
- ear protection
- painter’s tape
- paint roller
- drill
- 1 ⅝ inch drywall screws
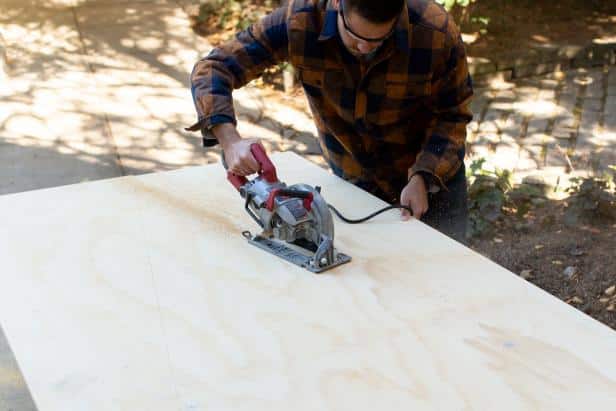
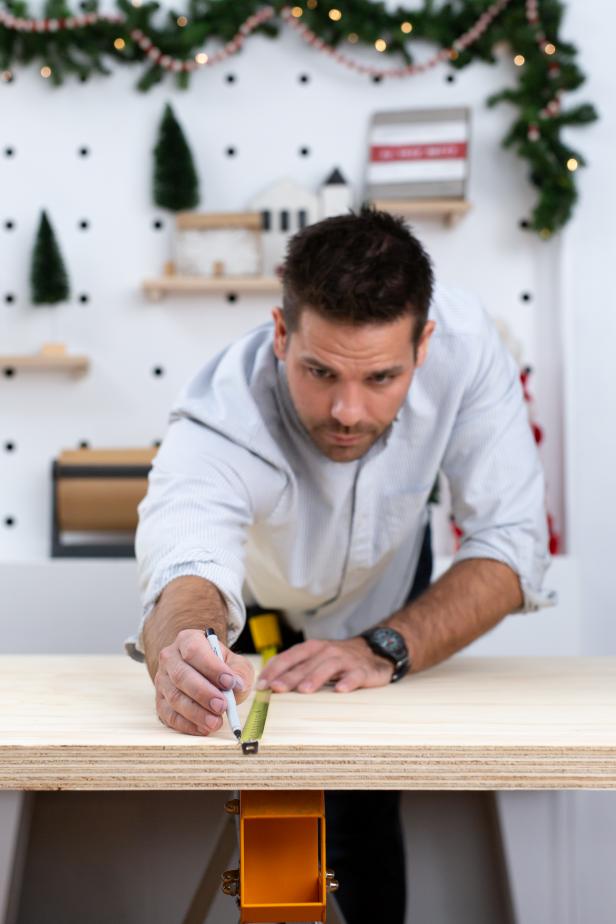
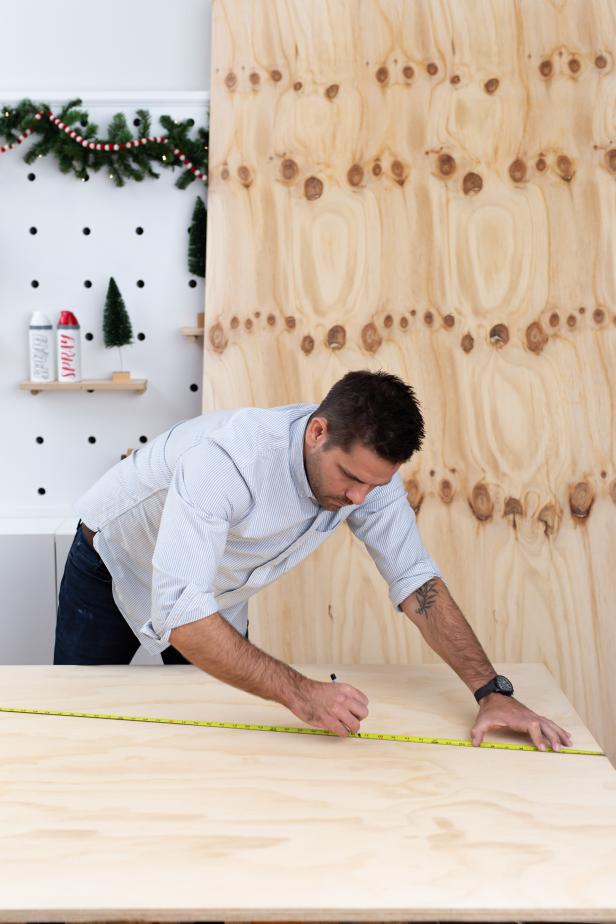
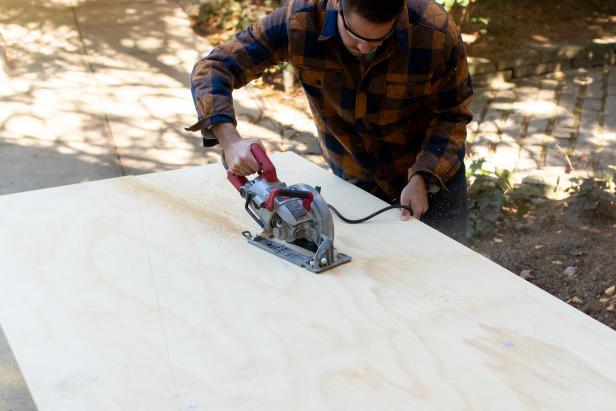
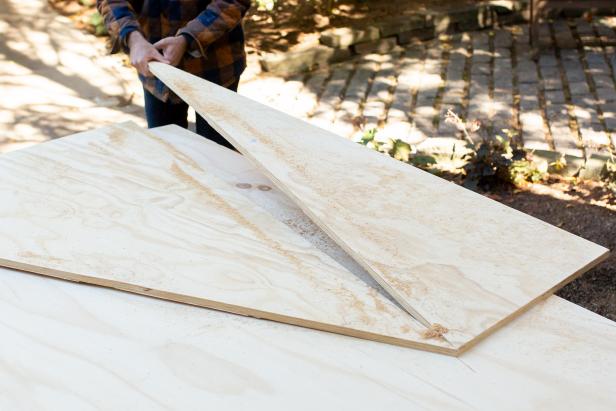
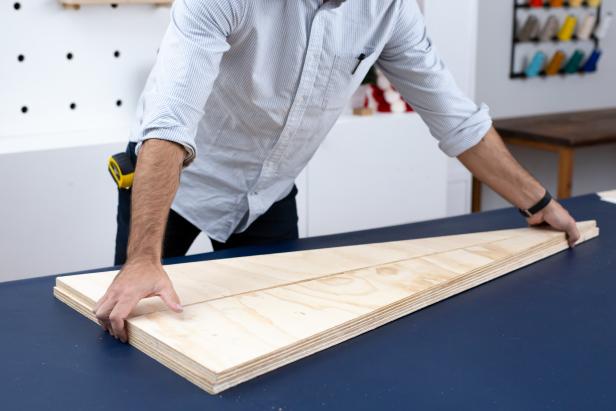
Start with a 4’ x 8’ sheet of plywood. For the larger tree, mark a center mark at two feet. From the center mark, draw a line to each corner at the bottom of the sheet of plywood. For the medium tree, make a 6-foot mark. Mark a center mark at two feet. From the center mark, draw a line to each corner at the bottom of the sheet of plywood. With the remaining 2’ x 4’ section of plywood, measure and mark the smallest tree. Make a mark in the center of the piece at one foot. From the center mark, draw a line to each corner at the bottom of the section of plywood. Repeat above steps for the second 4’ x 8’ sheet of plywood. Using a circular saw, cut the plywood along the marked lines.
Cassidy Garcia
Cassidy Garcia
Cassidy Garcia
Cassidy Garcia
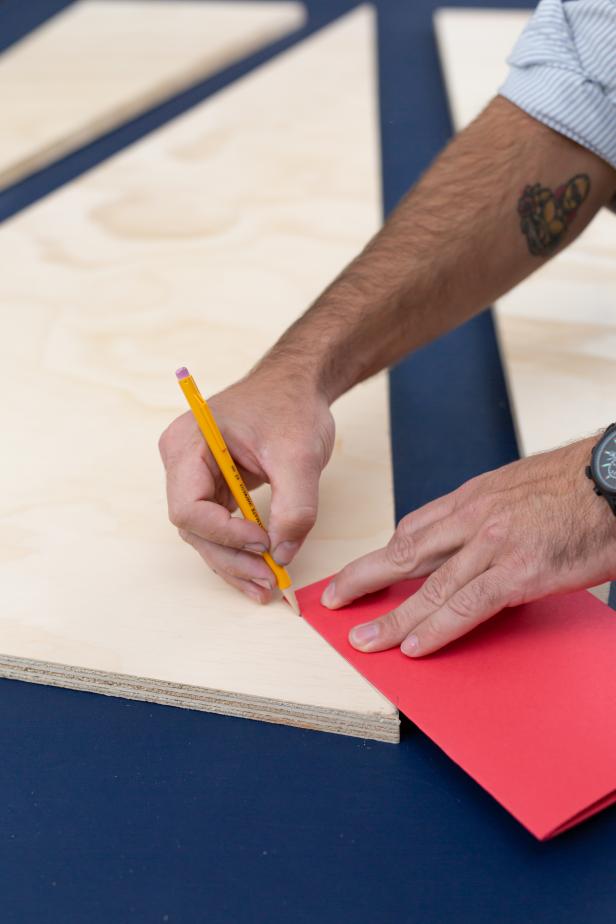
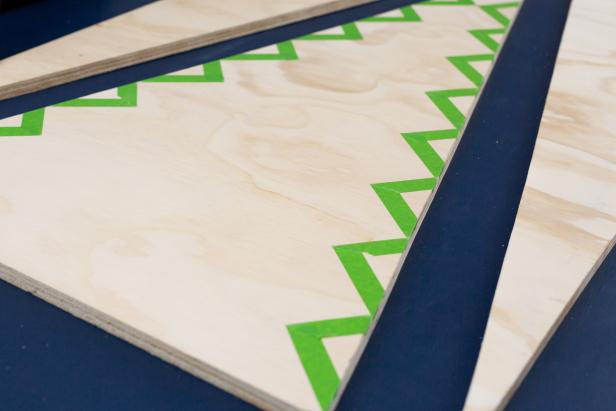
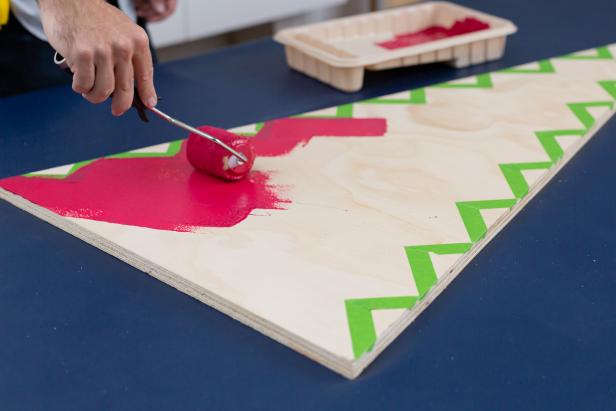
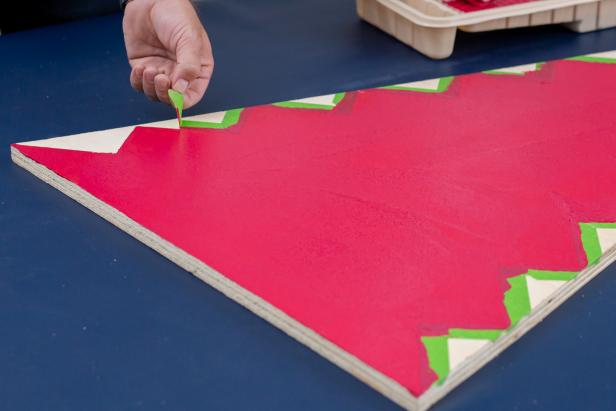
To create and paint a 3D tree design, use a piece of card stock to mark the tree edges. Fold the piece of card stock in half. Mark the edges and move the piece of paper up the side of plywood, marking each triangle tree edge. Repeat on both sides. Using painter’s tape, tape along the marked lines. Using a roller, paint inside the taped-off area with an exterior paint. Remove painter’s tape and set aside to dry. Paint a second coat if desired. Set aside to dry. Repeat above steps for each tree or create your own painted design!
Cassidy Garcia
Cassidy Garcia
Cassidy Garcia
Cassidy Garcia
Cassidy Garcia
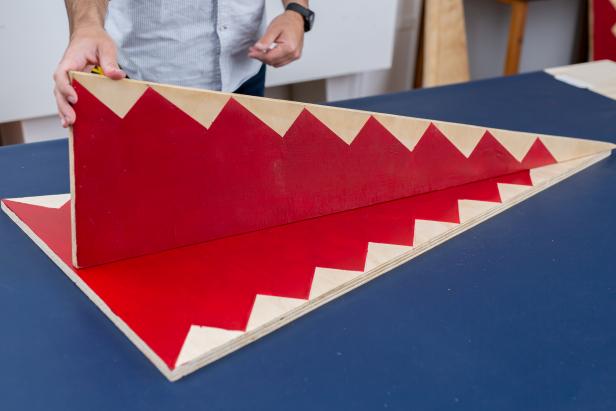
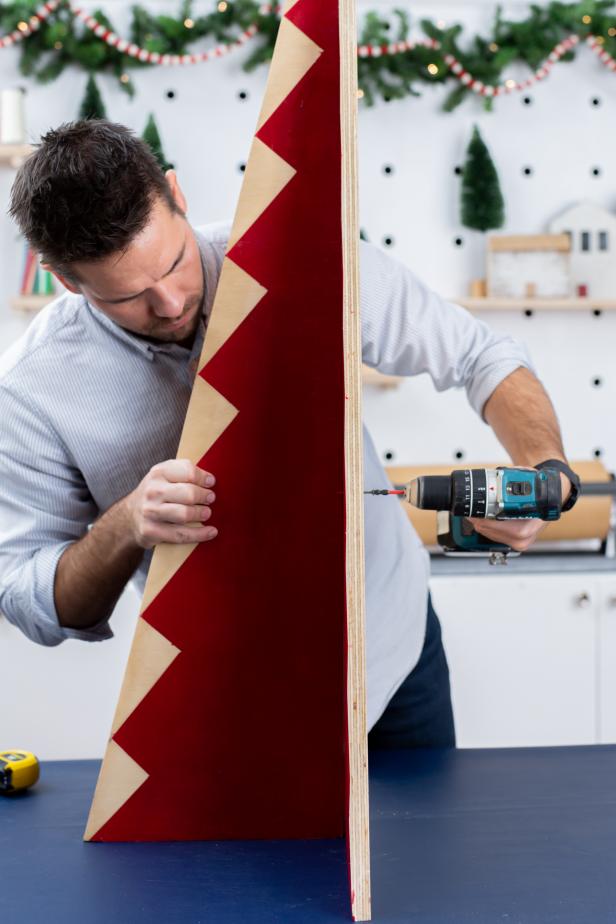
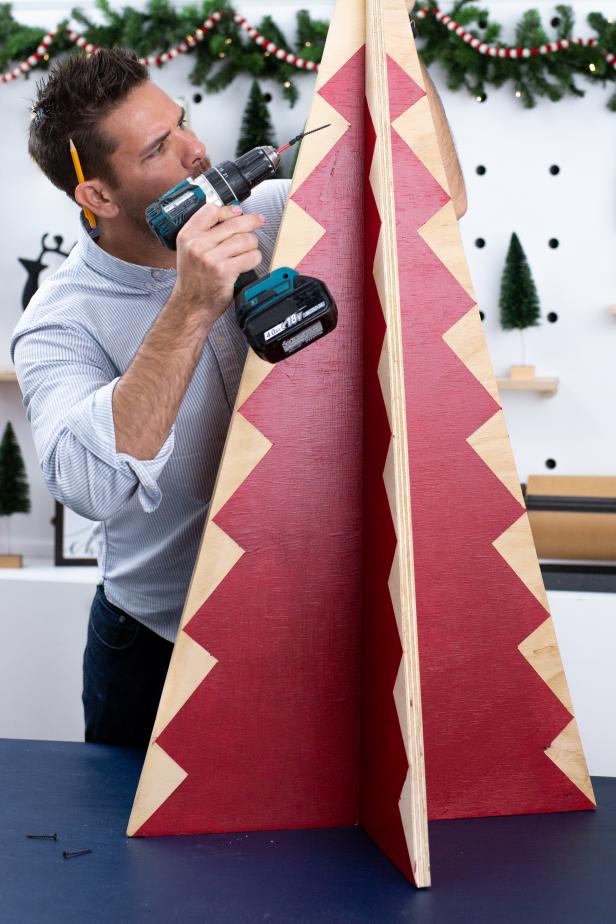
To assemble each tree, stand up four pieces and screw together using 1 ⅝ inch drywall screws.
Cassidy Garcia
Cassidy Garcia
Cassidy Garcia
Cassidy Garcia

Vietnam Plywood
Vietnam Film Faced Plywood


