Pressure Treated Plywood: What You Need to Know
Pressure treated plywood is infused with preservative under pressure to resist rot, decay, and insects outdoors, but it is not a moisture barrier or a structural upgrade. A guide to the chemical types, outdoor lifespan, and when a WBP marine or film-faced panel is the better spec.
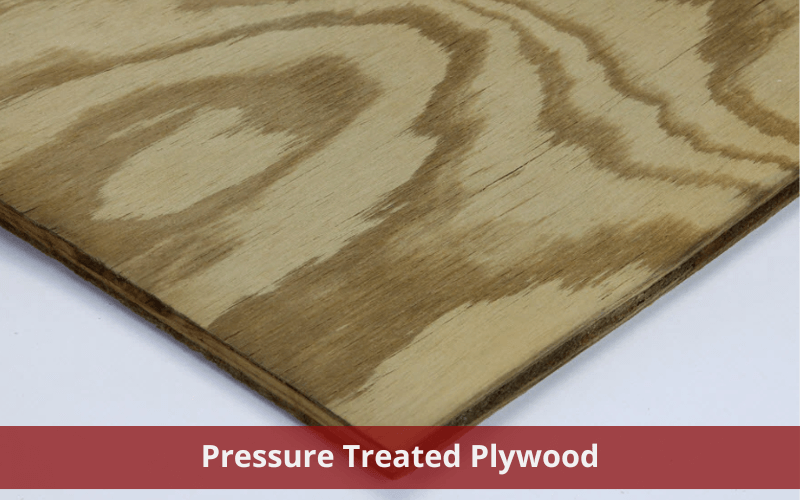
Pressure treated plywood is a wood panel forced full of preservative chemicals under pressure so it resists rot, fungal decay, and insect attack outdoors. That treatment buys real outdoor life, but it does not do everything buyers assume. It protects the wood fibre from biological breakdown; it does not make the panel a moisture barrier, and it does not turn a softwood sheet into a marine or structural formwork panel.
This guide covers what the treatment actually does, the chemical types you will see on the yard, how long a treated panel lasts outside, and the decision most specifiers get wrong: when a treated softwood panel is the right call, and when a construction-bonded panel resists moisture better by design.
What pressure treated plywood is
The panel starts as ordinary plywood, usually a softwood such as pine or fir. It goes into a sealed cylinder where a vacuum pulls air out of the wood cells, then a preservative solution is driven in under pressure so it penetrates deep into the fibre rather than just coating the surface. The result is a board that carries a measured amount of preservative all the way through, rated for either above-ground or ground-contact use depending on how much chemical it retains.
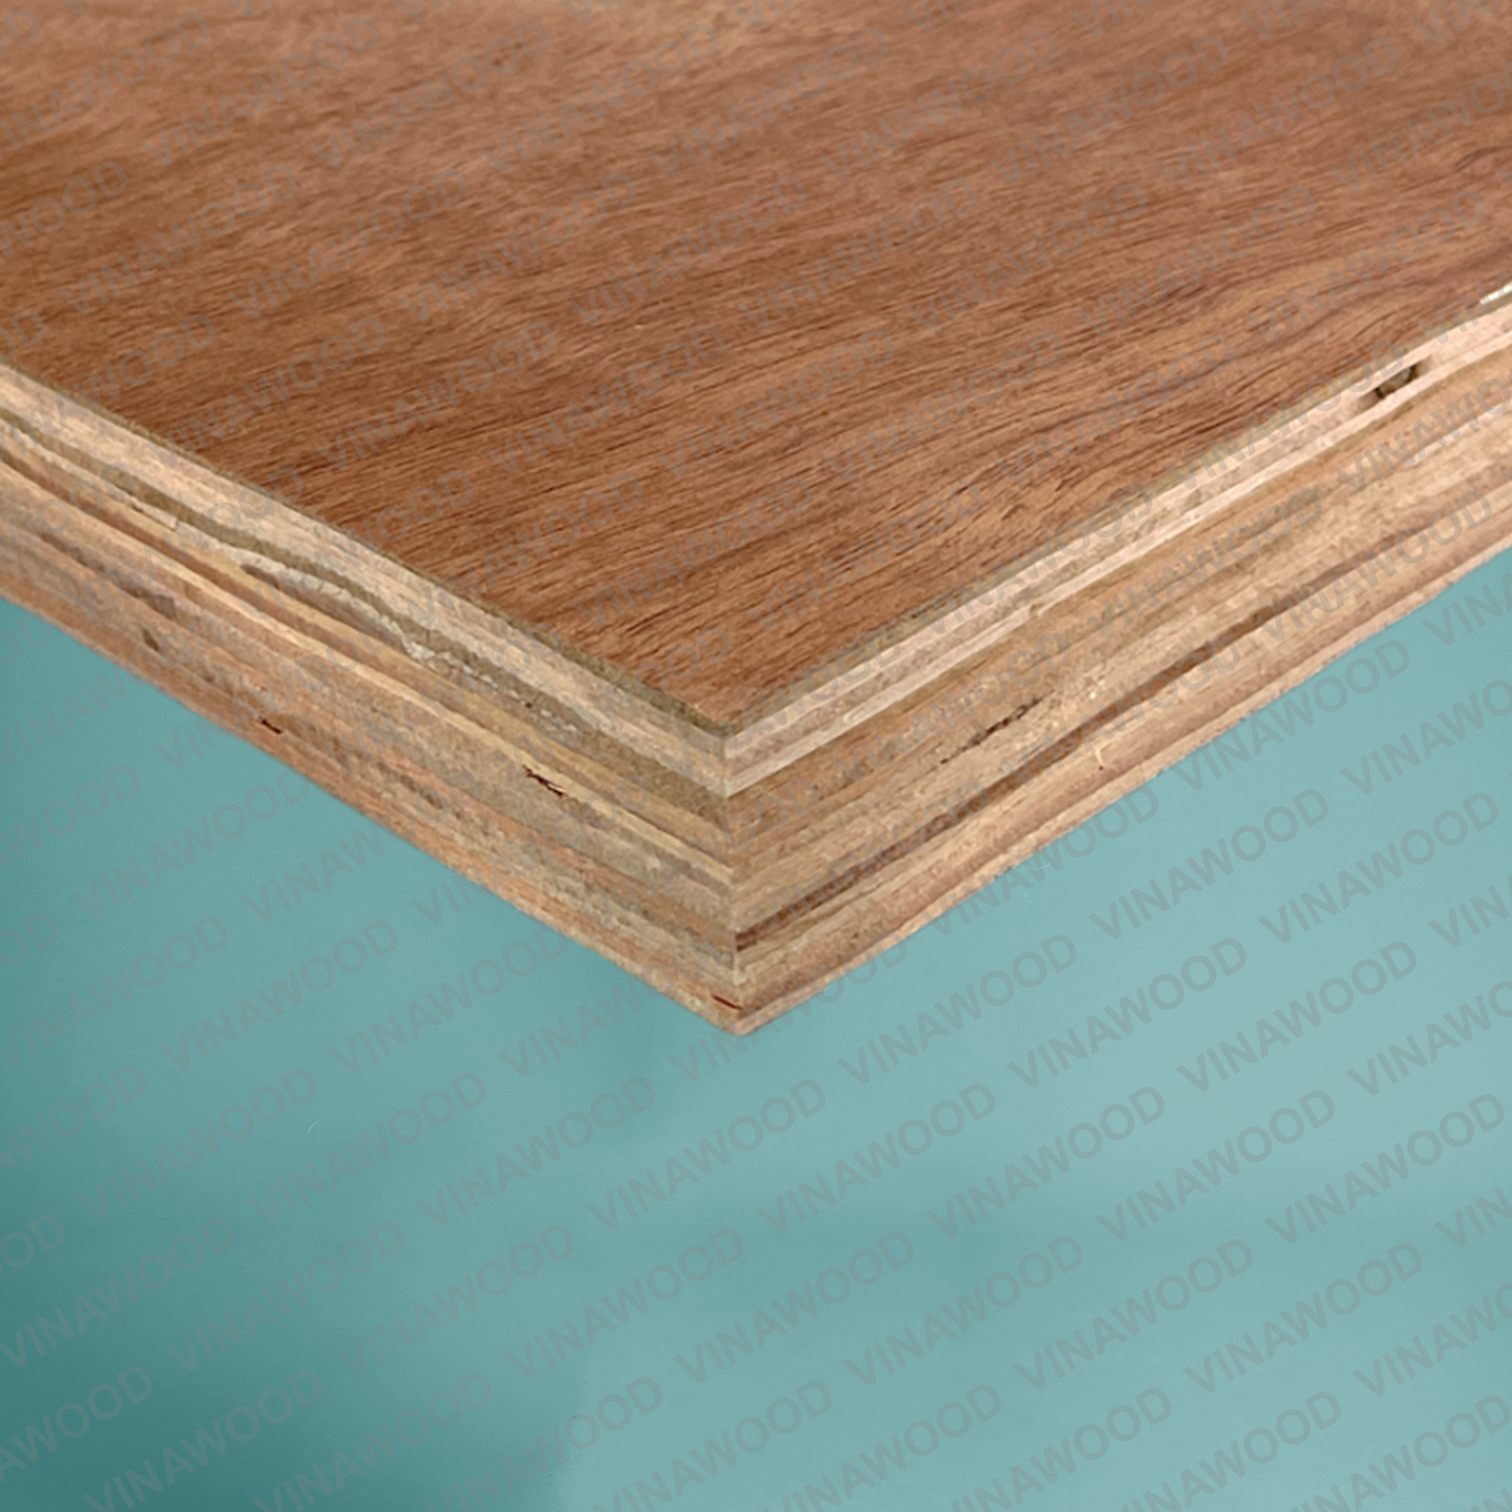
One distinction matters before anything else. Pressure treatment protects against biological attack, rot and insects. It is not the same mechanism as a weather-and-boil-proof (WBP) glue line, which is what keeps a marine or formwork panel from delaminating when it gets wet. A treated panel can still swell, and its glue line can still fail if the plywood was not bonded for exterior service in the first place. The two properties are independent, and good specification keeps them separate.
Is plywood pressure treated?
Most plywood is not pressure treated. Standard interior and structural panels ship untreated, and so do film-faced ones; pressure treated plywood is a separate product you buy on purpose for ground-contact or exposed outdoor work. If a datasheet or grade stamp does not say the panel is preservative-treated to a recognised retention standard, assume it is not. Treatment is a deliberate extra process, not a default property of plywood.
How pressure treated plywood is made
The treatment runs as a controlled sequence inside a pressure vessel called a retort:
- Loading. Panels are stacked and rolled into the retort, a long steel cylinder built to hold pressure.
- Vacuum. The chamber is sealed and evacuated, pulling air and moisture out of the wood cells so the preservative has somewhere to go.
- Flood and pressure. The retort fills with preservative solution, then pressure drives that solution deep into the fibre. Holding time sets how far it penetrates.
- Retention level. The target retention, how much preservative stays in the wood, depends on the intended use. Ground-contact panels carry roughly double the retention of above-ground panels, which is why they cost more and last longer in soil.
- Drying. Treated panels leave the retort wet and are dried before use. Fresh treated plywood holds a lot of moisture, and that water has to leave before the board is painted, sealed, or installed tight against other materials.
A safety note on older stock. Plywood treated before 2004 may have used chromated copper arsenate (CCA), which contains arsenic and was phased out of US residential use at the end of 2003. Panels produced today use copper-based preservatives without arsenic and carry a treatment stamp indicating the standard and retention level. Buy to the stamp, not to appearance.
Types of pressure treated plywood
Preservative chemistry sets what a treated panel is good for. The three families a buyer meets most often, plus a separate fire-treatment class, break down like this.
| Type | Chemistry | Best for | Notes |
|---|---|---|---|
| Borate (SBX) | Sodium-borate salts in water solution | Dry or weather-protected locations, framing under cover | Water-soluble, so it can leach out in wet or rain-exposed positions. Keeps the wood close to its natural colour. |
| ACQ | Alkaline copper quaternary | Ground contact, decking substrate, fences, exterior utility | Copper-based, no arsenic or chromium. Tints the wood a greenish-brown. The common general-purpose exterior treatment. |
| Copper azole (CA) | Copper plus an azole co-biocide | Ground contact and above-ground exterior | Similar service to ACQ, often lower copper loading. Widely used where ACQ is specified. |
Fire-retardant treated plywood
Fire-retardant treated (FRT) plywood is a different treatment class, not a rot preservative. The panel is pressure-treated with chemicals that slow flame spread and reduce smoke, which is why it appears in commercial and multi-family specs where code calls for treated wood. It does not make the panel non-combustible, and manufacturers usually advise against painting FRT panels because coatings can interfere with performance. Treat FRT as a fire-code product, separate from the rot-and-insect preservatives above.
What pressure treated plywood is good for
Treated plywood earns its place wherever a softwood panel has to sit outdoors or touch the ground and biological decay is the main threat. Decking substrate under a finished surface, fence panels and gates, dock framing above the waterline, ground-contact sill and utility work, and exterior structural sheathing on farm and light-industrial buildings all fit the material. For a wider comparison of exterior options, our guide to plywood for outdoor use sets treated panels against the alternatives.
Watch the retention rating against the position. Above-ground panels are fine where water drains and air circulates; anything buried, embedded in soil, or sitting in standing water needs a ground-contact rating with the higher retention. Dropping an above-ground panel into ground contact is the most common way a treated board fails early.
Outdoor lifespan and maintenance
A well-chosen treated panel lasts a long time outdoors. With the right retention for its position and reasonable upkeep, pressure treated plywood commonly gives 20 to 30 years or more of service. Ground-contact-rated panels in constant soil contact can run at the upper end of that range.
Maintenance is what protects the number. Cut edges expose untreated inner veneers, so every field cut should be brushed with a compatible end-cut preservative before install. A water-repellent finish reapplied every couple of years slows surface checking, and drainage detailing that keeps water moving off the panel matters more than any coating. On whether it can get rained on: yes, treated plywood tolerates rain, that is the point of it, but standing water and trapped moisture against an unsealed edge still shorten its life. For the finishing side of that, see how to seal and protect plywood against moisture.
Pressure treated vs marine and WBP film-faced plywood
This is the comparison that decides most real specifications, and the SERP for "marine plywood vs pressure treated" shows how often it comes up. The short version: pressure treatment and construction-bonded panels solve different problems. One fights rot and insects with chemistry; the other fights water and delamination with the glue line and core.
| Property | Pressure treated plywood | Marine plywood | WBP film-faced plywood |
|---|---|---|---|
| How it resists moisture | Chemical preservative in the fibre | WBP glue line plus void-free core | WBP glue line plus phenolic face film |
| Main threat it answers | Rot, fungal decay, insects | Water, delamination, sustained exposure | Water, abrasion, repeated concrete pours |
| Core construction | Standard softwood veneer, may have voids | Void-free hardwood core | Structural hardwood core, sealed edges |
| Typical use | Decking, fences, ground-contact framing | Boat building, docks, permanent wet exposure | Concrete formwork, exterior structural faces |
| Bond standard | Not defined by bond; defined by retention | WBP, e.g. BS 1088 for true marine | WBP, EN 314 Class 3 for phenolic-bonded |
No panel here is "waterproof." Marine and film-faced panels are water-resistant by construction because the glue line survives soaking; treated plywood is decay-resistant by chemistry. Pick the mechanism that matches the failure you are trying to prevent. Our overview of what marine-grade plywood is goes deeper on the WBP side.
When a Vinawood panel is the better spec
Vinawood does not manufacture pressure treated plywood. Where the job is ground-contact softwood framing or decking and rot is the enemy, a treated softwood panel from a local yard is the right buy, and we will say so. The line worth drawing is around moisture and structure. In our own export work, a fair number of buyers who ask for "pressure treated" actually need a panel that resists water and repeated loading, not a preservative-soaked softwood board.
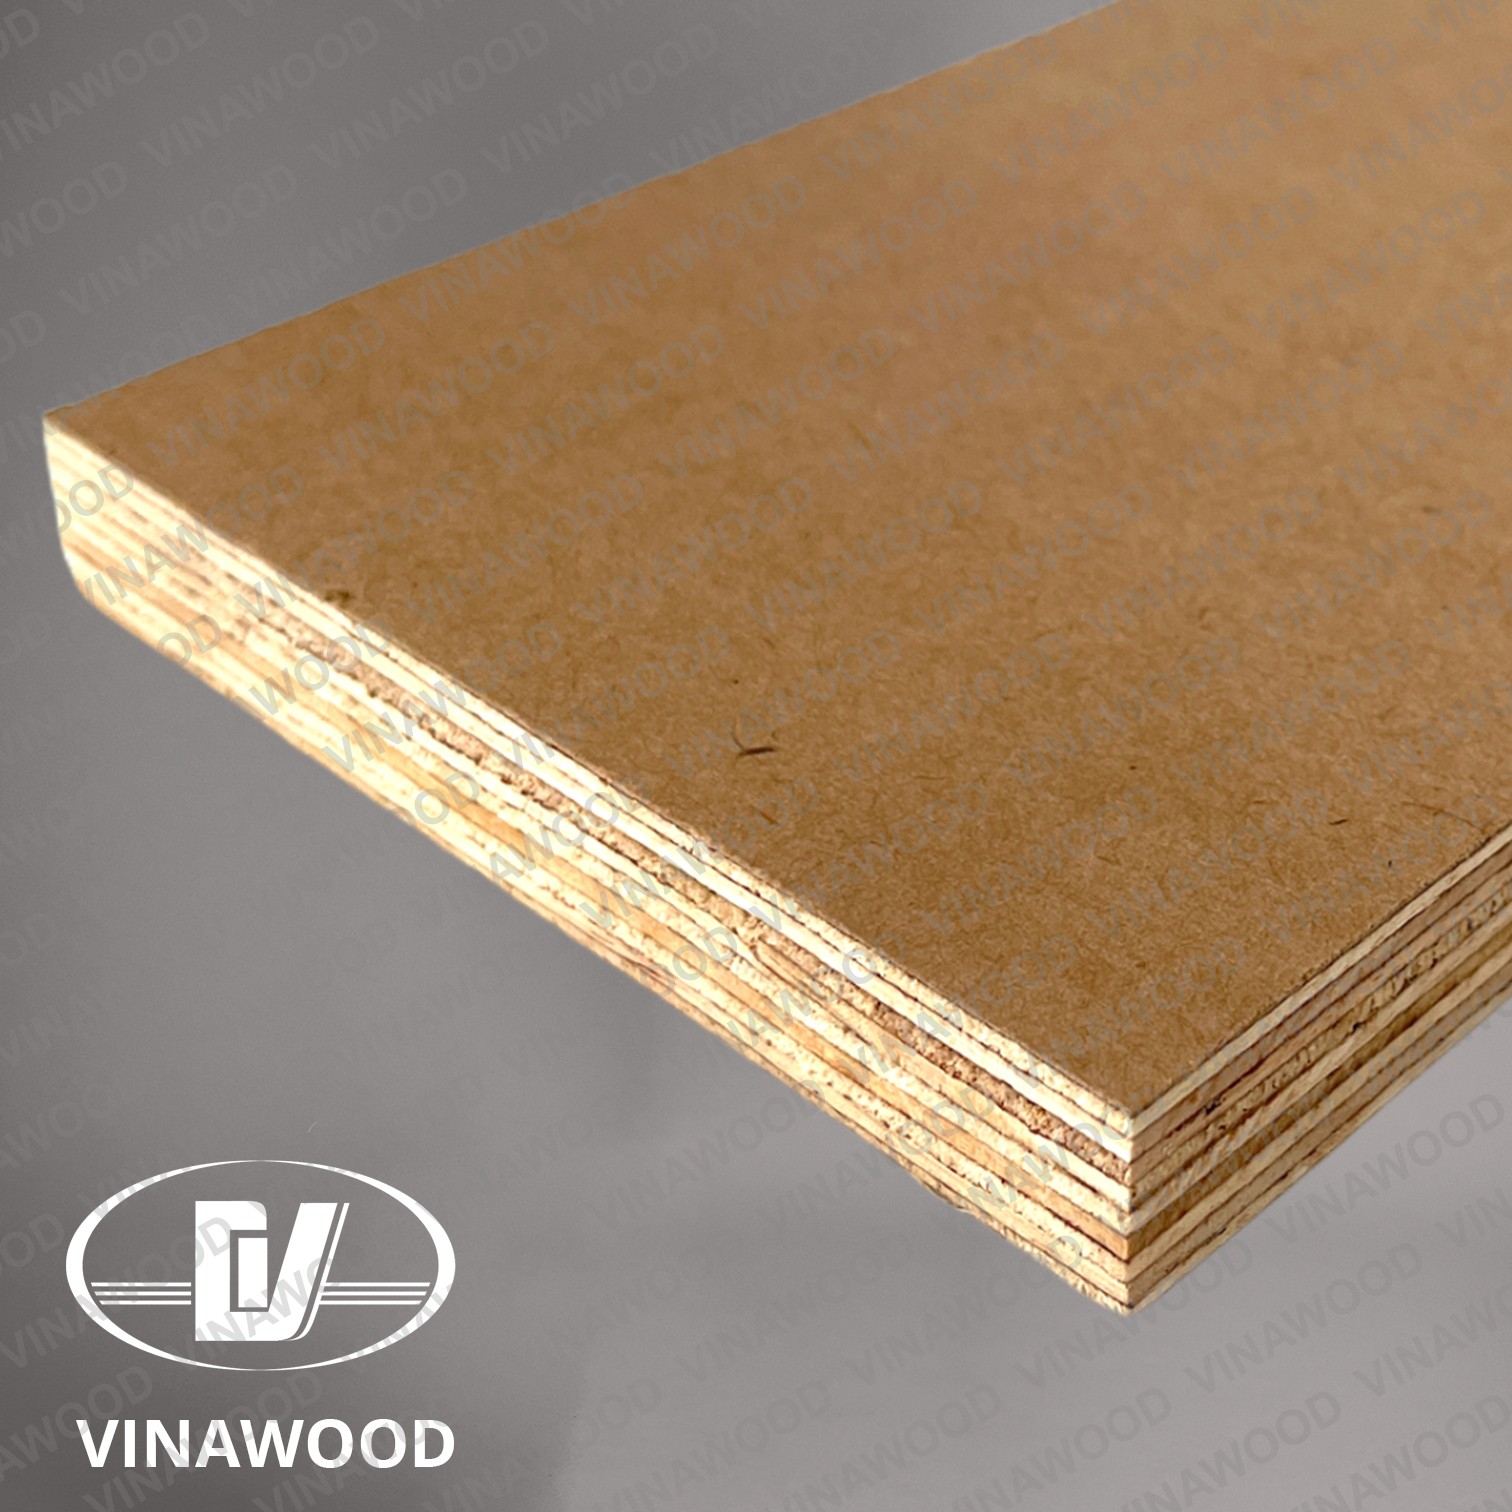
For concrete formwork, marine work, and exterior structural faces, a WBP construction resists moisture by design. Vinawood marine plywood uses a void-free core with a WBP glue line for sustained exposure, and the film-faced plywood range carries a phenolic face over a WBP-bonded core rated to EN 314 Class 3, built for the wet, high-load conditions of concrete forming and rated for up to 20 reuse cycles on the top-tier panels. For North American matte-finish concrete work, the MatteFace overlay range covers the same ground with a matte concrete face. Every panel is CE-marked to EN 13986, EPA TSCA Title VI / CARB P2 compliant, and inspected sheet by sheet before it ships.
Buying checklist
Before you commit to a treated panel, run through five checks:
- Retention rating. Above-ground or ground-contact, matched to where the panel actually sits.
- Standard and stamp. A visible treatment stamp naming the preservative and retention level, from a regulated source.
- Grade of the base panel. BC gives one good face; CDX shows knots both sides. Choose for whether the surface will be seen.
- Edge sealing. Plan to seal every field cut with an end-cut preservative before install.
- Dry before finishing. Let a freshly treated panel dry until water no longer beads on the surface before paint or stain.
And ask the question behind the purchase: is the real threat rot, or is it water and load? If it is the latter, a WBP-bonded marine or film-faced panel is the better spec.
About Vinawood
Vinawood is a Vietnamese plywood manufacturer established in 1992, exporting over 5,000 containers a year to 55+ countries. Production runs a 12-step process with 100% individual sheet inspection, backed by ISO 9001, FSC-COC and PEFC chain of custody, CE marking to EN 13986, and EPA TSCA Title VI / CARB P2 compliance for the US market. For marine and concrete-formwork panels built to resist moisture by construction, plus exterior structural faces, our team can match the right specification to your project and prepare a factory-direct quote. Browse the film-faced range or contact our sales office to get started.
Category
how-to
Related Markets
Related Countries
Related Products

▶Sources & References (4)
- EN 314-2 — Plywood: Bonding quality, requirements — CEN (1993)
- BS 1088 — Marine plywood specification — BSI (2018)
- CCA reregistration and residential phase-out — US EPA (2003)
- EN 13986 — Wood-based panels for use in construction (CE marking) — CEN (2015)