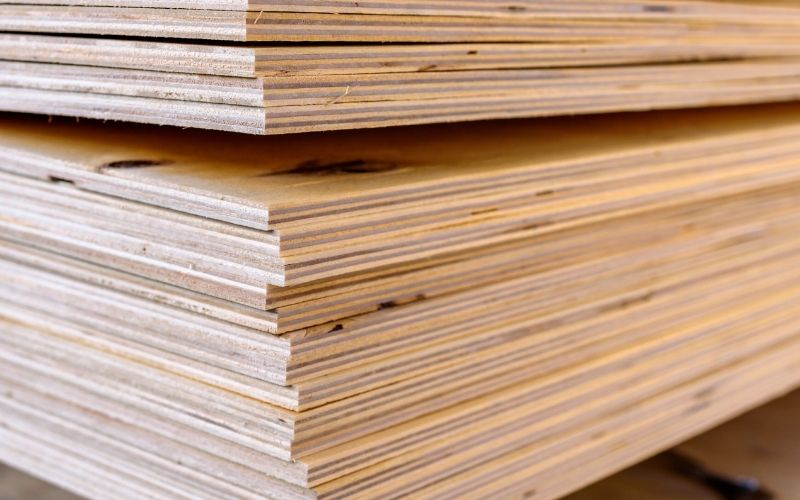
Uneven floors can cause serious problems for your finished flooring, from gaps to premature wear. Learning how to level a floor with plywood is a practical and cost-effective solution for DIYers and professionals alike. This method helps create a smooth, stable surface that's ready for vinyl, laminate, tile, or hardwood, without the high cost of self-leveling compounds.
How to level a floor with plywood
Uneven subfloors can cause flooring problems like creaks, gaps, and premature wear. Using plywood is a practical method for leveling a floor, especially when the height difference is significant or over a large area. Follow these steps:
Step 1: Inspect and Clean the Subfloor
- Remove furniture, old flooring, and debris.
- Check for damage such as rot, mold, or loose boards, repair or replace if needed.
- Use a level or straightedge to identify low spots and high areas.
- Mark problem areas with chalk for reference.

Step 2: Determine the Height Difference
- Use a long level or laser level across the floor.
- Measure the depth of dips or height of humps to decide how much correction is needed.
- If the unevenness is more than 1/2 inch, plywood is a suitable solution.

Step 3: Choose the Right Plywood
- Use exterior-grade or tongue-and-groove plywood (usually 1/4" to 1/2" thick).
- Choose thickness based on how much leveling is needed.
- Make sure the plywood is flat and dry before installation.

Step 4: Cut and Dry-Fit the Plywood
- Measure and cut plywood panels to fit the space.
- Dry-lay the plywood on the subfloor without adhesive to ensure proper fit and coverage.
- Stagger seams for strength and avoid placing joints over low spots.

Step 5: Apply Leveling Materials (If Needed)
For dips deeper than 1/4 inch, first fill with:
- Self-leveling compound, or
- Wood shims or roofing felt (stacked and glued)
Allow any compound to cure fully before laying plywood.
Step 6: Secure the Plywood
- Apply construction adhesive to the subfloor to reduce movement and squeaks.
- Screw the plywood down using wood screws or subfloor screws, every 6–8 inches along edges and 12 inches in the field.
- Avoid placing screws where finish nails will later go for flooring.

Step 7: Sand High Spots and Seal Joints
- Use a sander to level out any joints or edges that stick up.
- Fill any gaps between plywood sheets with wood filler or leveling compound.
- Let dry, then sand smooth to create a seamless, even base.

Step 8: Final Check
- Walk over the entire floor to ensure it feels solid and even.
- Recheck with a level for flatness. correct any remaining issues before flooring installation.
By following these steps, you’ll create a strong and level surface that supports any flooring type, laminate, hardwood, vinyl, or tile.
What is the cheapest way to level a floor?
The cheapest way to level a floor is to use simple, low-cost materials like wood shims, roofing felt, or cardboard to fill small dips and low spots. These materials are ideal for wood subfloors and can be layered or trimmed to match uneven areas without the need for expensive tools or compounds. Sanding down high spots with a belt sander is another affordable solution that helps create a flatter surface without adding new materials.
For slightly larger areas, laying thin plywood sheets over the subfloor offers a budget-friendly alternative to self-leveling compound. This method not only smooths out unevenness but also provides a solid base for most types of flooring. While it may not be as precise as more advanced leveling products, it’s a practical solution for DIYers working with limited funds.
Knowing how to level a floor with plywood is a smart, affordable way to fix uneven subfloors. It provides a strong, smooth base for any flooring type and can be done with basic tools. Follow the right steps, and you'll create a solid foundation that lasts.
VINAWOOD – Vietnam Plywood Supplier Manufacturer


