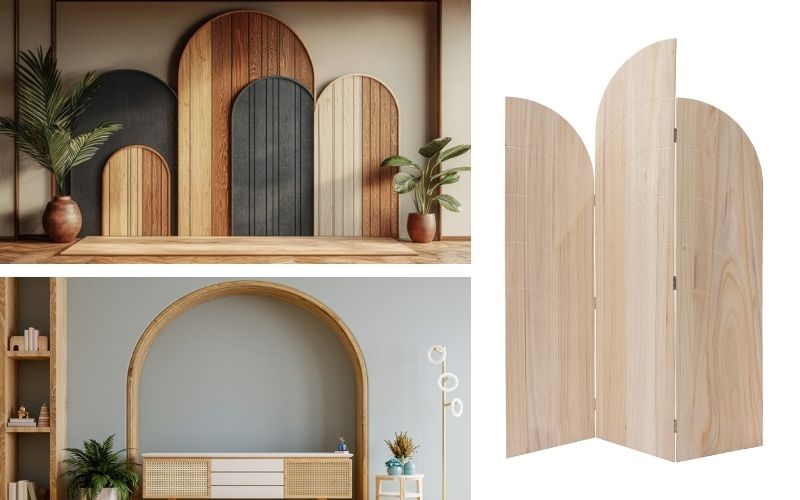
How to Build a Plywood Arch Design: Step-by-Step Guide
Want to add a custom arch to your space? This step-by-step guide shows you how to build a plywood arch design with simple tools and materials. Learn how to plan, cut, assemble, and finish your arch for doorways, niches, or feature walls. Perfect for DIYers looking to enhance their interiors with a…

Want to add a custom arch to your space? This step-by-step guide shows you how to build a plywood arch design with simple tools and materials. Learn how to plan, cut, assemble, and finish your arch for doorways, niches, or feature walls. Perfect for DIYers looking to enhance their interiors with a stylish architectural detail.
Why use plywood for arch design?
Plywood is ideal for arch design because it offers a combination of flexibility, strength, and affordability that’s hard to match with solid wood or MDF.
It’s made by layering thin sheets of wood veneer with the grain running in alternating directions, which gives it excellent structural integrity and resistance to warping. This cross-grain construction allows plywood, especially thinner sheets or flexible varieties, to be bent into smooth, curved shapes perfect for arches.
Additionally, plywood is lightweight, easy to cut, and cost-effective, making it a practical choice for both DIY and professional projects involving wall arches, niches, or doorways.
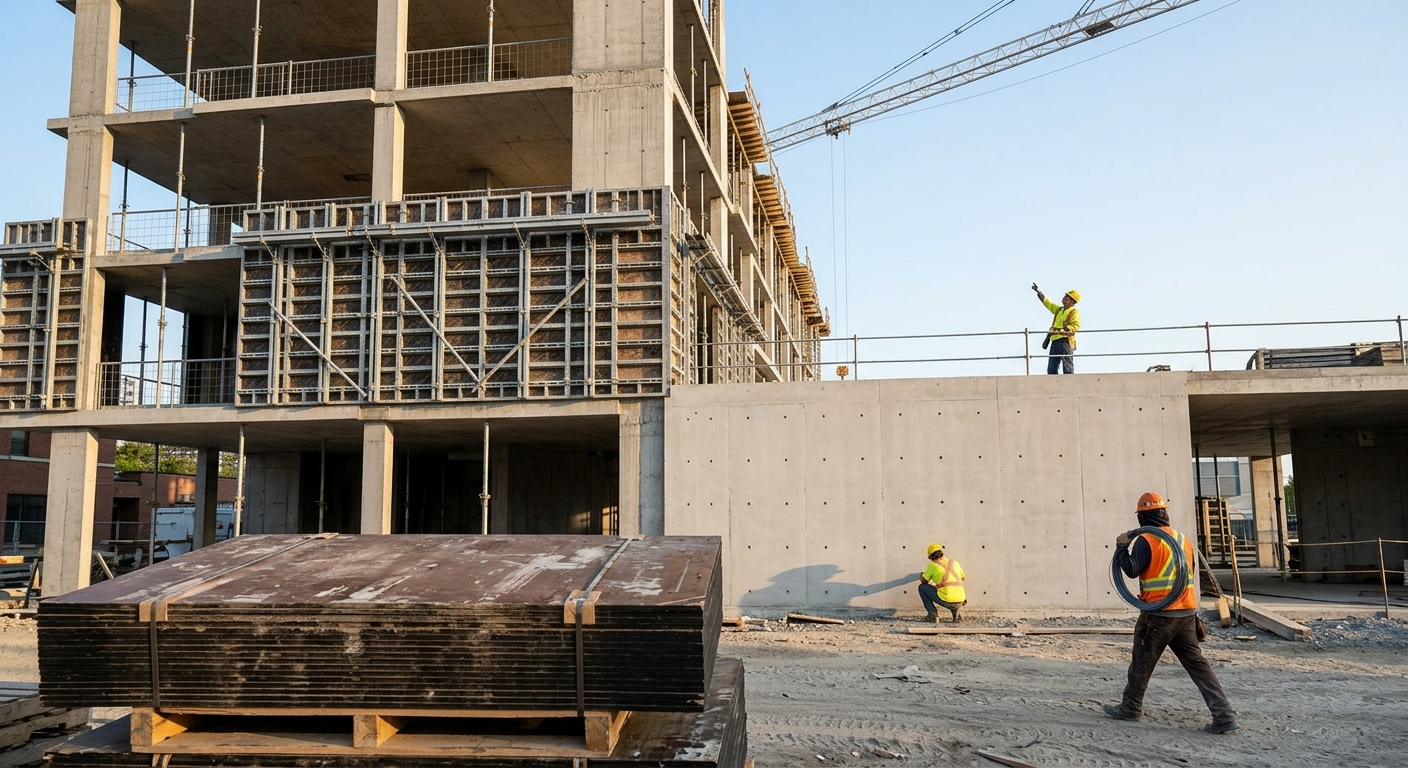
> Discover more: furniture grade plywood, plywood underlayment, shuttering plywood, concrete forming plywood
What tool to build arches in plywood?
To build arches in plywood, you’ll primarily need a jigsaw to cut the curved shape and a router to smooth and shape the edges. Use a circle-cutting jig, compass, or string-and-pencil method to accurately draw your arch outline.
Other helpful tools include a sander for finishing the edges, clamps for holding pieces in place during assembly, and a router with a template if you're creating multiple matching arches. These tools ensure precision, smooth curves, and a professional-looking result.
How to build plywood arch design: A step-by-step
Tools & Materials You’ll Need
- Jigsaw or bandsaw
- Drill and screws
- Wood glue
- 1/2"–3/4 plywood
- 1/4" flexible plywood (for curves)
- Level and tape measure
- Sandpaper and joint compound
- Corner bead tape (for curves)
- Paint or stain for finishing
Step 1: Plan the arch design
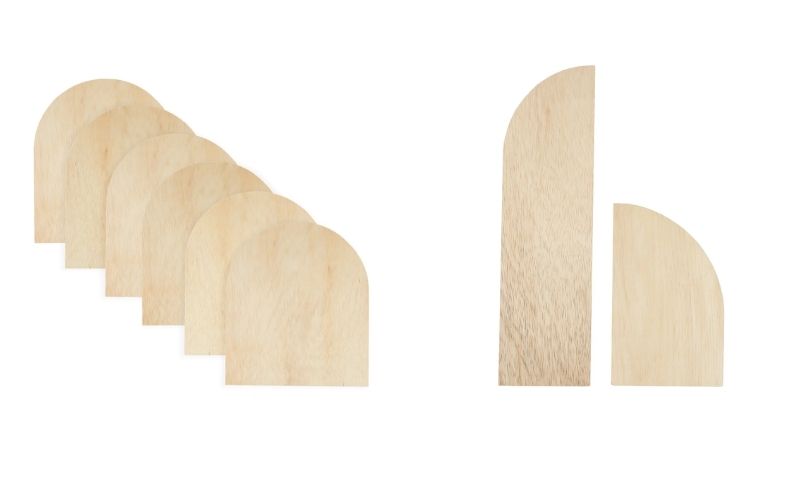
Measure the width and height of the space. Choose an arch style (e.g., half-circle or elliptical) and draw the curve using a string and pencil or a circle-cutting jig. Create a cardboard template if needed, then transfer the shape to your plywood for accurate cutting.
Step 2: Cut the arch frame from plywood
Use a jigsaw to carefully cut along the arch shape you traced on the plywood. For a complete frame, cut two identical arch pieces. Go slowly to keep the curve smooth and accurate. Once cut, lightly sand the edges to remove any roughness or splinters.
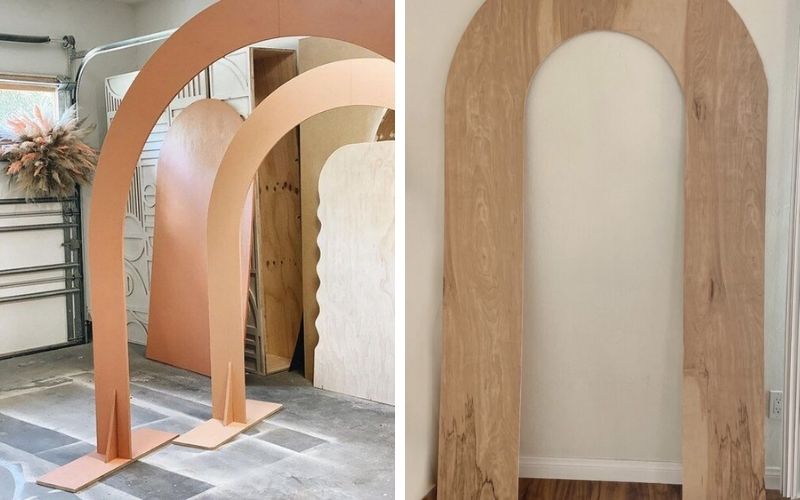
Step 3: Add blocking or spacers between the arch frames
Cut several spacer blocks (about 3–6 inches wide) from scrap wood or 2x4s. Place them vertically between the two plywood arch pieces to create depth and structure. Secure the blocks using wood glue and screws, spacing them evenly along the curve. This forms a sturdy, box-like arch frame.
> Learn more:
- Can you stain pressure treated wood
- What is CDX plywood
- What is the best outdoor plywood
- Plywood for cabinets
- How to waterproof plywood
Step 4: Secure the arch frame in place
Fit the assembled arch frame into the desired location, such as a doorway or wall opening. Use a level to make sure it’s centered and straight. Then, screw the frame into the wall studs or existing framing to secure it in place. Add shims if needed for a tight fit.
Step 5: Apply a flexible surface over the curve
Use 1/4" flexible plywood or kerf-cut regular plywood to cover the curved underside of the arch. Gently bend the panel along the arch, and attach it using wood glue and a nail or staple gun. Work slowly to avoid cracking and ensure a smooth, tight fit.
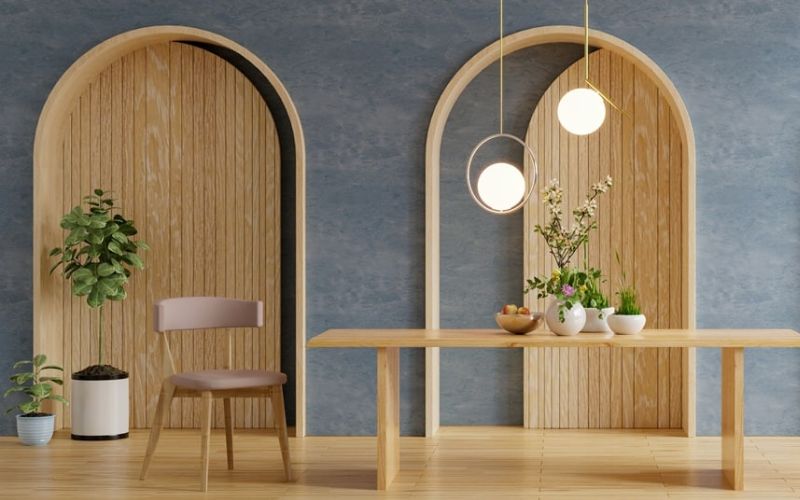
Step 6: Finish with drywall or plaster
Apply drywall, joint compound, or other finishing material over the arch to match the surrounding surface. Use a flexible corner bead along the curve for clean edges. Once dry, sand smooth, then prime and paint or finish as desired for a seamless look.
Step 7: Prime and paint (or stain)
After sanding, apply a coat of primer to seal the surface and ensure even paint coverage. Once dry, finish with your chosen paint or stain to match your decor. Let it dry completely, and your plywood arch is ready to shine as a polished architectural feature.
> Get more details:
- How to remove paint from wood
- How to refinish hardwood floors
- What is plywood made of
- Best plywood for subfloor
- How to Finish Plywood
Final Thoughts
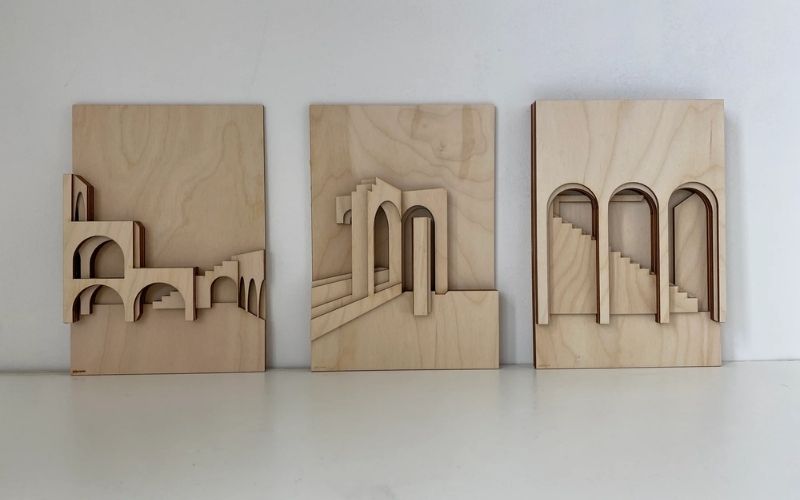
Building a plywood arch is a simple yet impactful way to add elegance and architectural charm to your space. With the right tools, a bit of planning, and some patience, even beginner DIYers can achieve professional-looking results. Whether you're updating a doorway, creating a wall niche, or adding a unique focal point, plywood arches offer flexibility, affordability, and style. Follow the steps carefully, and you’ll have a custom feature that adds both value and personality to your home.
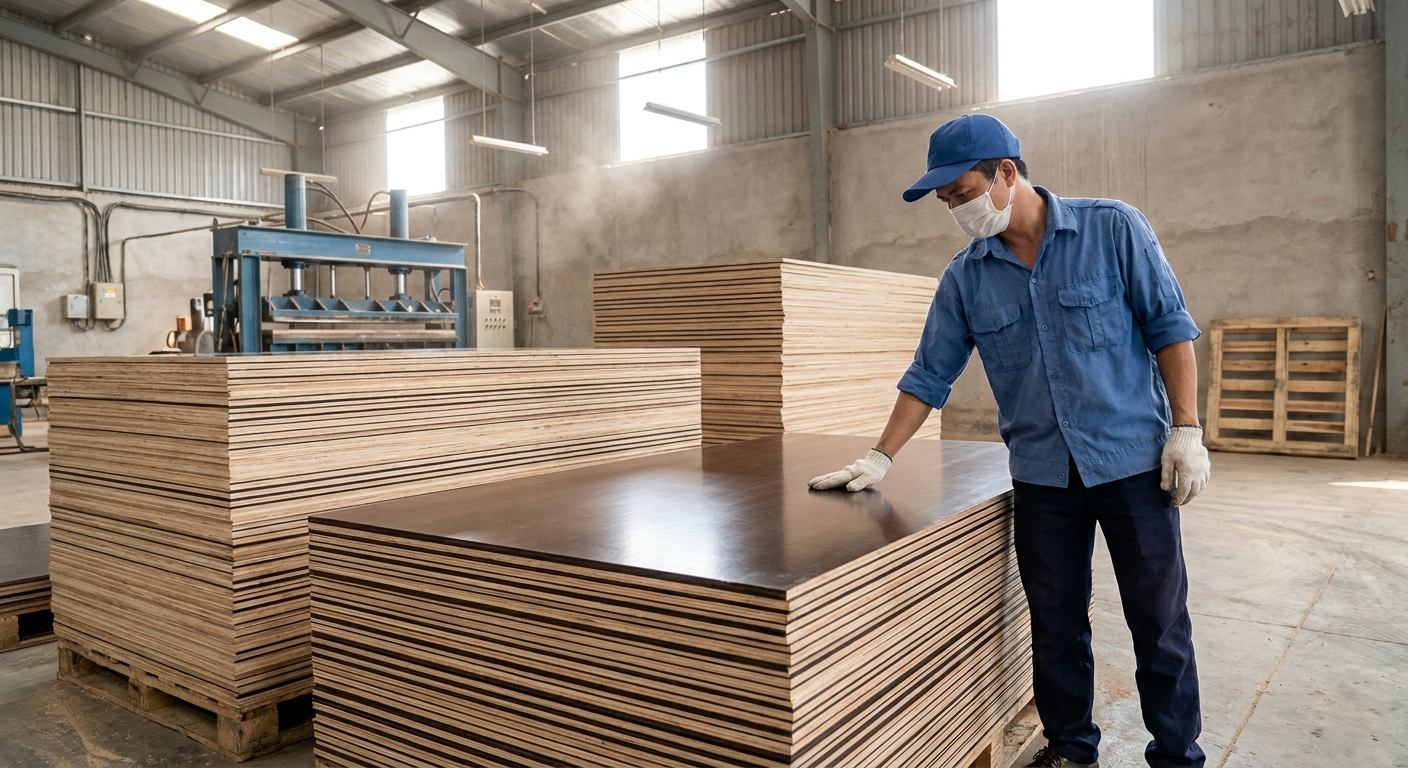
VINAWOOD – Vietnam Plywood Supplier Manufacturer