How to repair deteriorating plywood: A step-by-step Guide
Wondering how to repair deteriorating plywood? In this article, we guide you through simple, effective steps to restore damaged plywood and prevent further decay. From inspecting the damage and removing rot to applying wood hardener, filling gaps, and sealing the surface, you’ll learn everything…
Wondering how to repair deteriorating plywood? In this article, we guide you through simple, effective steps to restore damaged plywood and prevent further decay. From inspecting the damage and removing rot to applying wood hardener, filling gaps, and sealing the surface, you’ll learn everything you need to repair deteriorating plywood and extend its life.
Can rotted plywood be repaired?
Rotted plywood can be repaired, but only if the damage is minor and not structural. Small areas affected by moisture or surface rot can be treated using wood hardeners, fillers, or epoxy. These materials reinforce the weakened fibers and restore the plywood’s strength. The key is to remove all decayed wood first and allow the area to dry completely before beginning repairs.
However, if the rot is extensive, spreads across multiple layers, or affects load-bearing structures, it’s best to replace the damaged panel entirely. Repaired sections may not offer the same strength as new plywood, which could lead to safety or durability issues down the line.
How to repair deteriorating plywood
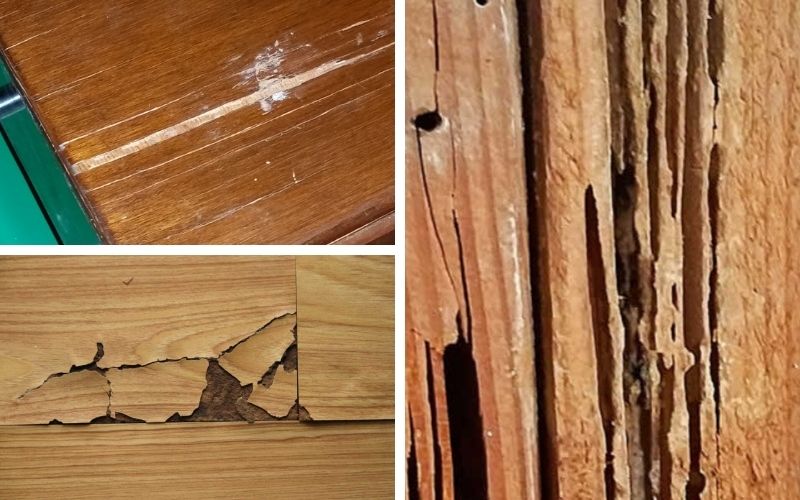
1. Inspect the damage
Start by checking for signs of rot like warping, soft spots, mold, or delamination. Press gently with a screwdriver, if it sinks, the plywood is deteriorating. This step helps you decide whether to repair or replace the panel.
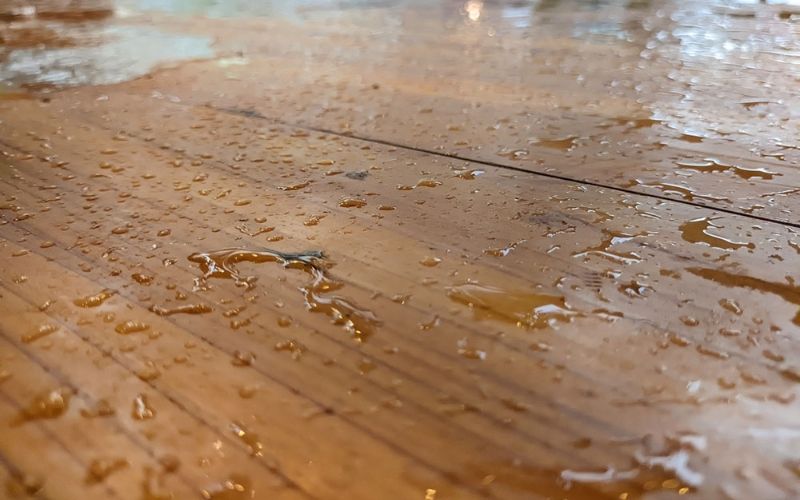
2. Dry the area
After identifying the damaged sections, it’s crucial to completely dry the plywood before starting any repairs. Moisture trapped in the wood can lead to continued rot, mold growth, and poor adhesion of fillers or sealants. Use fans, a heat gun, or a dehumidifier to speed up the drying process, especially if the plywood is in a damp area like a basement or near plumbing.
If the wood is heavily soaked, it may take several hours or even days to dry fully. Always ensure the plywood feels dry to the touch before proceeding to the next step.
3. Remove damaged sections
Once the plywood is dry, carefully cut out or scrape away all soft, rotted, or crumbling wood. Use a utility knife, chisel, or oscillating tool to remove loose fibers or peeling layers. It's important to clear out all weakened material, leaving any behind can lead to continued decay and compromise your repair.
If the damage is deep or widespread, you may need to cut and remove an entire panel section to ensure structural integrity.
4. Apply wood hardener (For mild rot)
If the rot is minor and the core of the plywood remains solid, apply a wood hardener to stabilize the affected area. This liquid product soaks into the soft wood fibers and reinforces them from the inside. Use a brush or syringe to apply it evenly across the damaged surface and let it cure completely according to the product instructions. Once dry, the plywood will be much firmer and ready for patching or sanding.
This method works best for treating early-stage rot without needing full replacement.
> Learn more:
- Can you stain pressure treated wood
- What is CDX plywood
- What is the best outdoor plywood
- Plywood for cabinets
- How to waterproof plywood
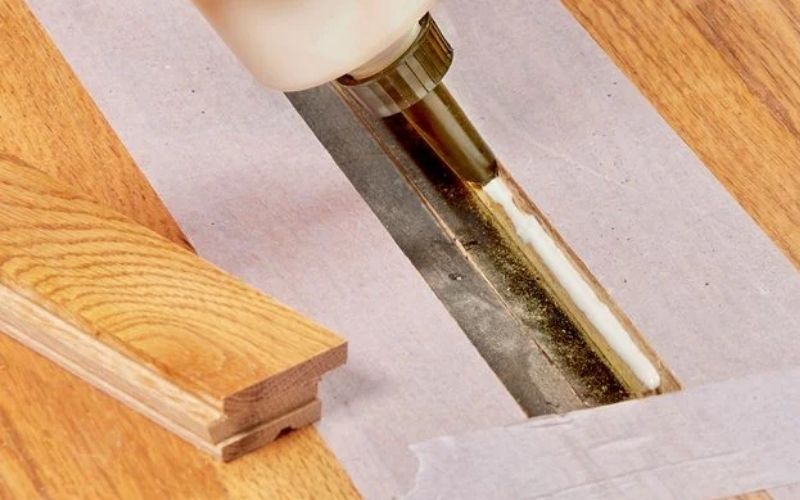
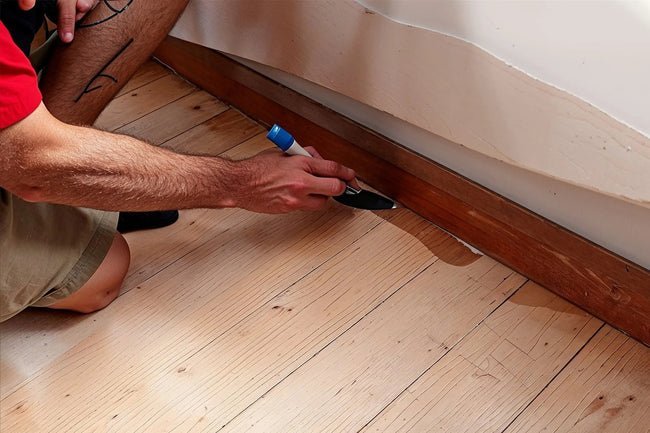
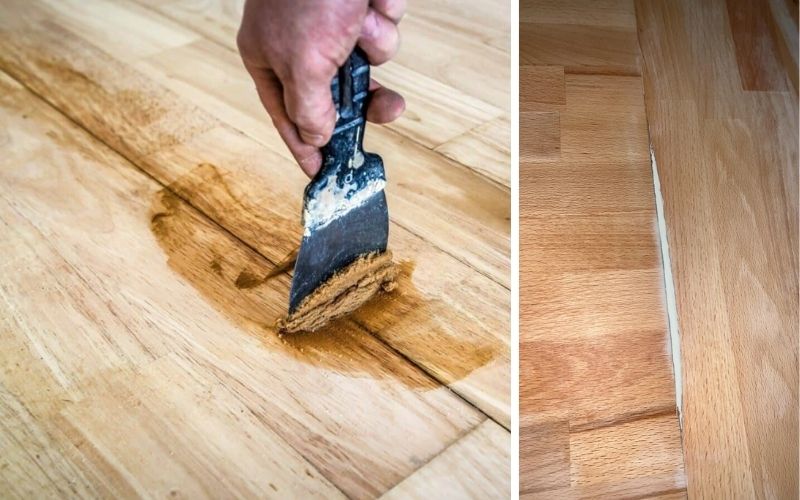
5. Fill gaps or voids
After the wood hardener has cured, use a wood filler or epoxy putty to fill any cracks, holes, or missing areas in the plywood. Apply the filler with a putty knife, pressing it firmly into the gaps to ensure a solid bond. Smooth the surface as much as possible to reduce sanding later. Once the filler is fully dry, sand the area until it is level with the surrounding wood.
This step helps restore the surface and prepares it for sealing or painting.
> Get more details:
- How to remove paint from wood
- How to refinish hardwood floors
- What is plywood made of
- Best plywood for subfloor
- How to Finish Plywood
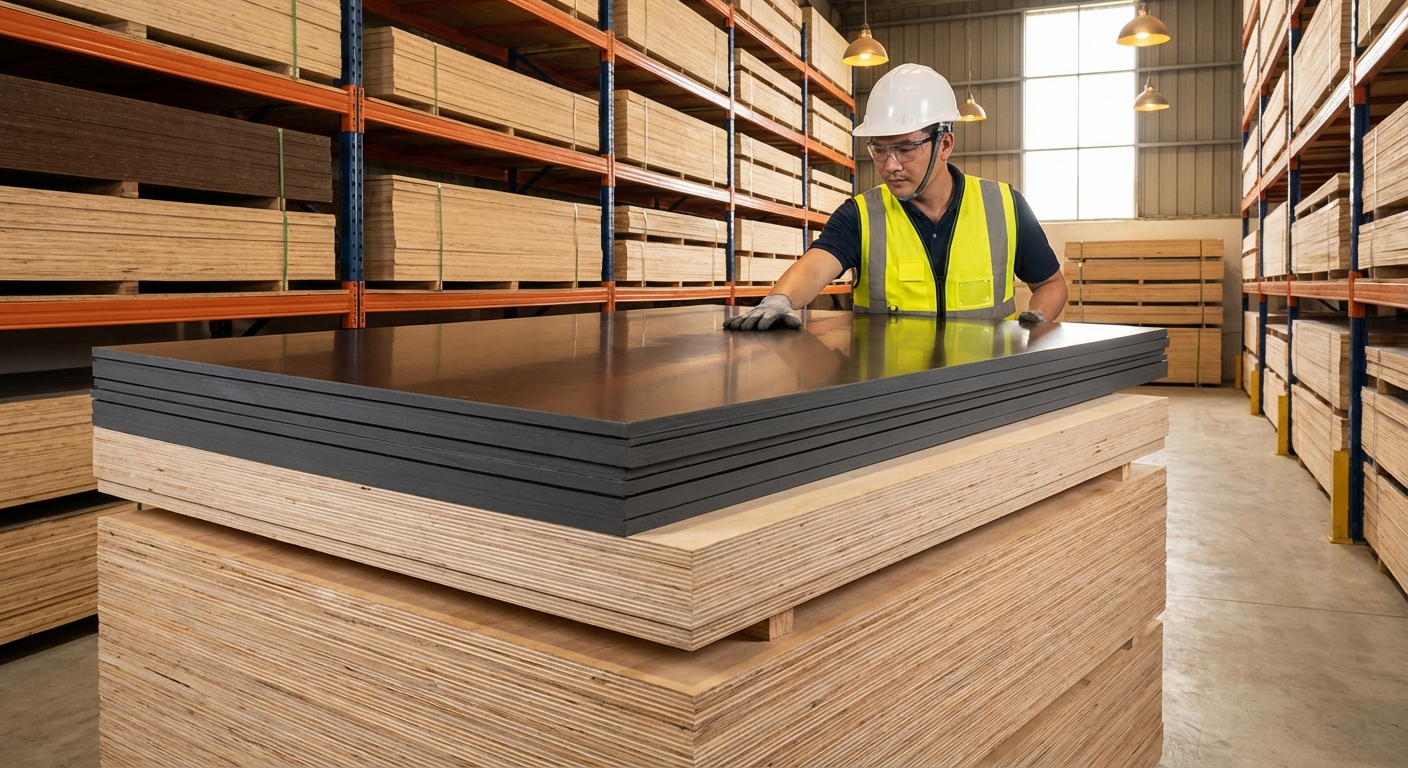
6. Replace severe damage
If the plywood is severely damaged or the rot has compromised its strength, it's best to replace the affected section. Cut out the damaged area using a saw, making clean, straight edges. Measure and cut a new piece of plywood of the same thickness to fit the gap. Secure the replacement panel with wood screws or nails, ensuring it sits flush with the surrounding surface. This ensures the repaired area is strong, stable, and ready for finishing.
7. Seal and protect
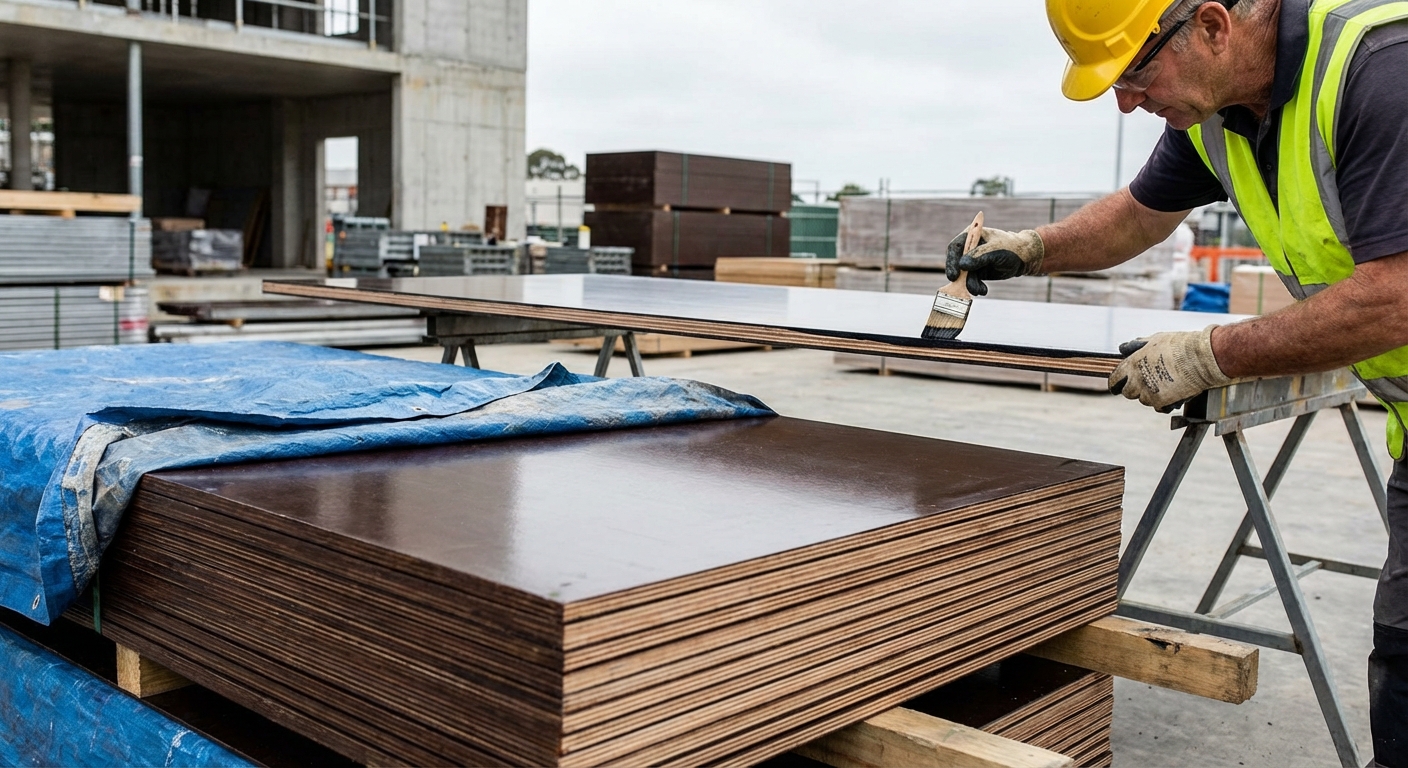
Once the repair is complete, apply a sealant, primer, or waterproof coating to protect the plywood from future moisture damage. Choose a product suitable for indoor or outdoor use, depending on the location. For extra protection, consider painting or staining the surface after sealing. Proper sealing extends the life of the plywood and helps prevent rot, warping, or mold from returning.
How to repair old plywood
1. Inspect the condition
Start by carefully inspecting the plywood for damage. Look for signs like warping, rot, soft spots, splitting, or delamination. Check whether the damage is surface-level or has affected the inner layers. This step will help you decide if the plywood can be repaired or if replacement is necessary.
2. Clean the surface
Remove dirt, dust, and grime using a stiff brush or vacuum. If there’s mold or mildew, clean it with a solution of vinegar or diluted bleach. A clean surface ensures that fillers, adhesives, and sealants will bond properly during the repair process.
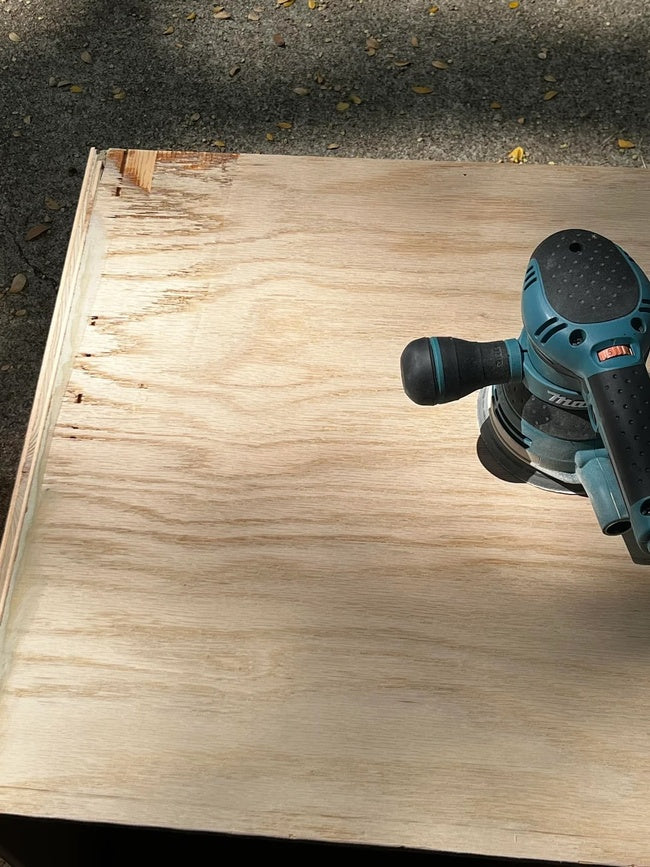
3. Sand the plywood
Use sandpaper (80–120 grit) to smooth out rough spots, splinters, and old finishes. Sanding also helps expose weak areas and creates a better surface for filler and paint to adhere to. Be sure to wipe away dust before moving to the next step.
> Learn more:
4. Repair minor cracks or holes
Fill small cracks, chips, or holes with wood filler or epoxy putty. Apply it with a putty knife and smooth it out to match the surface. Once dry, sand the patched area until it blends seamlessly with the surrounding plywood.
5. Fix delamination
If the plywood layers are starting to separate, carefully lift the loose layer and apply wood glue between them. Clamp the layers firmly together and allow them to dry completely. Properly fixing delamination restores the panel’s structural strength.
6. Replace severely damaged sections
For areas that are rotten, spongy, or too damaged to repair, cut out the affected section and replace it with new plywood of the same thickness. Secure the new piece with screws or nails, and make sure it fits flush with the existing panel.
7. Seal and protect
Finish the repair by applying a waterproof sealant, primer, or paint to protect the surface from future damage. For outdoor or high-moisture areas, choose a weather-resistant finish. Proper sealing ensures durability and extends the life of the repaired plywood.
Conclusion
Repairing deteriorating plywood is a practical and cost-effective way to extend the life of your wood surfaces. By properly inspecting, cleaning, repairing, and sealing the damaged areas, you can restore strength and appearance without needing a full replacement. Whether you're dealing with minor surface damage or deeper rot, the right approach can make your plywood panels as good as new.
To prevent future deterioration, always protect plywood from moisture and harsh weather. Use treated or exterior-grade plywood in damp areas, keep surfaces sealed, and address leaks or humidity issues early. With regular maintenance and timely repairs, your plywood can stay strong and durable for many years to come.
VINAWOOD – Vietnam Plywood Supplier Manufacturer