How to make a plywood cutting board safely at home
Looking to create a unique cutting board using plywood? While plywood isn’t traditionally recommended for food prep surfaces due to its layered construction and adhesives, it’s possible to make a safe and durable plywood cutting board at home with the right materials and techniques. In this guide,…
Looking to create a unique cutting board using plywood? While plywood isn’t traditionally recommended for food prep surfaces due to its layered construction and adhesives, it’s possible to make a safe and durable plywood cutting board at home with the right materials and techniques. In this guide, you’ll learn how to select food-safe plywood, properly cut and assemble the strips, and finish your board with safe oils to ensure it’s both functional and hygienic. Follow these expert tips to craft a stylish and safe plywood cutting board that’s perfect for your kitchen.
Can plywood be used for cutting board?
Yes, plywood can be used to make a cutting board, but it’s important to understand its limitations and potential issues, especially when it comes to food safety and durability. The adhesives between plywood layers are often not food-safe and can release harmful chemicals if the board gets wet or heated. Additionally, plywood may delaminate or degrade faster than solid hardwoods under regular kitchen use. If you choose plywood, make sure to select high-quality, food-safe plywood and properly seal the surface with food-safe finishes to minimize risks.
> Read more: purple heart wood, clapboard, what is a board foot, cross laminated timber, how far apart are wall studs, fire rated plywood, kiln dried wood
What type of wood is best for a cutting board?
Choosing the right wood for a cutting board is essential for durability, food safety, and knife preservation. Hard, closed grain hardwoods are ideal because they resist moisture, bacteria, and wear over time. Below are the top types of wood to consider and a few to avoid.
Hard Maple (Sugar Maple)
Hard maple is one of the most popular choices for cutting boards. It’s dense, has a fine closed grain, and is naturally resistant to bacteria and scratching. It provides a strong, hygienic surface that won’t dull your knives quickly.
Walnut
Walnut is slightly softer than maple but still highly durable. Its rich, dark appearance makes it a favorite for high-end boards. Walnut’s smooth texture and moderate hardness are easy on knives, making it both functional and attractive.
Cherry
Cherry offers a balance of medium hardness and a smooth grain. It’s not as tough as maple, but it’s easier to work with and develops a beautiful patina over time. Cherry boards are known for their warm tone and sleek finish.
Beech
Beech is similar to maple in hardness and grain texture. It’s affordable, durable, and widely used in European cutting boards. Beech resists bacteria and warping when properly maintained.
> Get more details: composite decking colors, hardwood vs softwood, wood structure, bathroom subfloor, how to build a wood truss
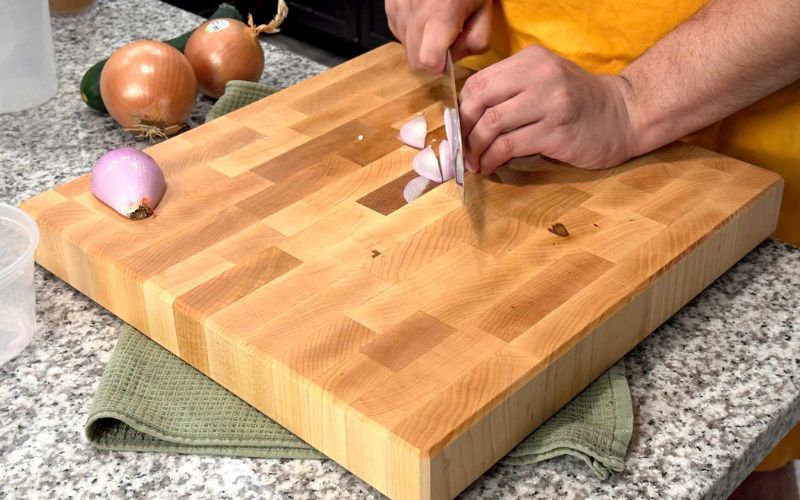
How to make an end grain plywood cutting board
Step 1: Select the plywood
Choosing the right plywood is key to the look and durability of your cutting board. For this project, we used 3/4" thick plywood with 4 plies, meaning it’s made of four layers of wood veneer glued together to reach the thickness. While this works for a basic experiment, higher-quality plywood like furniture-grade or marine-grade plywood is a better choice for cutting boards. These grades have stronger adhesives and fewer voids, resulting in a more durable and safer finished product.
Step 2: Cut the plywood into strips
Use a bandsaw or table saw to rip the plywood into uniform strips. Set the fence about 7/8" from the blade for either saw. On the table saw, set the blade height to roughly 1". Cut around 15 to 20 strips, maintaining consistent widths. Cut in a steady motion without stopping midway to ensure smooth edges. Always use a push stick or scrap wood to safely guide the pieces through the blade and avoid kickback.
Step 3: Glue the strips together
Arrange the plywood strips side by side with their edges aligned. Apply a generous amount of food-safe wood glue along each edge, then clamp the strips tightly together to ensure a strong bond. Wipe off any excess glue before it dries. Allow the glue to cure fully according to the manufacturer’s instructions before moving on.
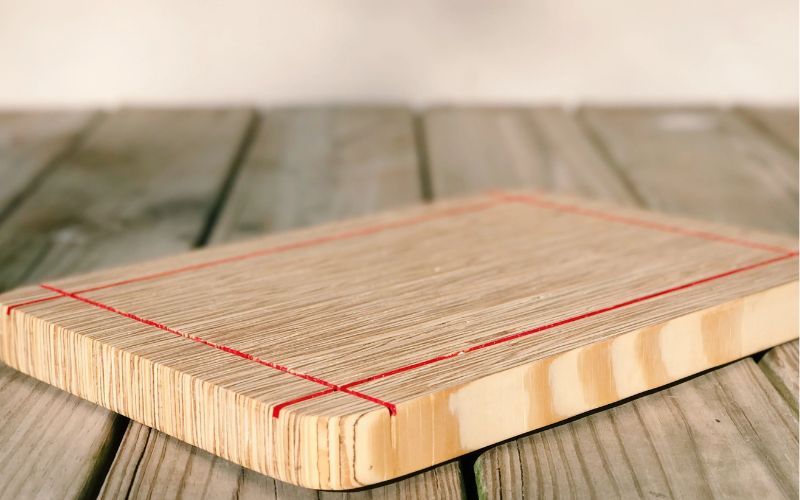
Step 4: Plane and trim the board
Once the glue has fully dried, use a planer or hand plane to level the surface of the board, removing any uneven spots or glue residue. Then, trim the edges with a saw or jointer to achieve clean, straight, and square sides for a professional finish.
Step 5: Apply finish oil
After sanding the board smooth, apply a generous coat of food-safe mineral oil or cutting board conditioner. Allow the oil to soak in for several hours or overnight, then wipe off any excess. Repeat this process regularly to keep the wood protected and looking its best.
> Discover more: softwoods types, 3/4 vs 5/8 thickness, density of plywood, wood and plywood, what size plywood for mobile home floor, which plywood is best for wardrobe
What wood is not safe for cutting boards?
When selecting wood for your cutting board, avoid softwoods, toxic exotic species, chemically treated lumber, highly porous varieties, and unstable or brittle woods. Choosing the right type of wood ensures a cutting board that is functional, hygienic, and durable, providing a safe and long-lasting surface for all your culinary tasks.
When considering plywood for a cutting board, it’s important to weigh the pros and cons carefully. While plywood can be crafted into an end grain cutting board with the right techniques, the adhesives used in its layers often contain chemicals that are not food-safe and may pose health risks if the board becomes wet or heated. Additionally, plywood lacks the durability and longevity of solid hardwoods, which are naturally dense, less porous, and safer for food contact. For these reasons, hardwoods like maple, walnut, or cherry remain the top choice for cutting boards, offering a safer, more durable, and hygienic surface. By selecting the right wood and properly finishing your board with food-safe oils, you can ensure a functional and long-lasting kitchen essential that protects both your knives and your health.
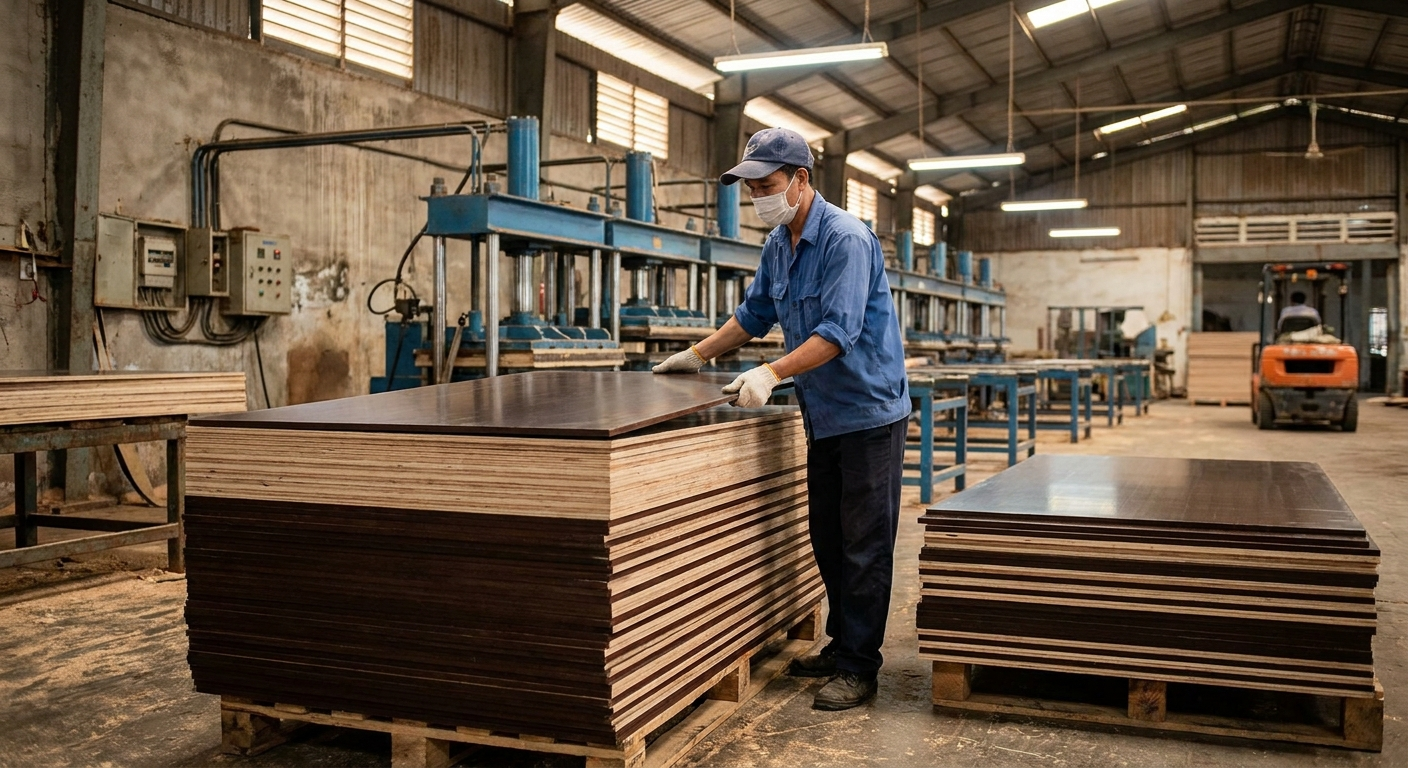
VINAWOOD – Vietnam Plywood Supplier Manufacturer