Best Paint for Plywood: How to Choose and Apply It (Interior, Exterior, Floors)
Which paint to use on plywood depends on where the panel lives and how it was prepped. This guide grades paint by application — cabinets, walls, floors, outdoors — and walks the sand-prime-fill-topcoat sequence that decides whether the finish holds.
Paint failures on plywood almost never start with the paint. They start one step earlier: the panel that was never primed, the edge grain that drank up moisture, the B-grade face that went under the roller still rough. Choose paint for where the sheet will live, prep it properly, and most plywood takes a coat as well as solid lumber. Skip either step and the best can on the shelf still peels. We see it in the panels customers send back: the failure is almost never the paint.
This guide sorts paint by application first, because that is the question most searchers actually have. Then it covers the prep sequence, primers, sealing, and the outdoor case, where moisture and sun change the rules.
Best paint for plywood by application
Match the paint to the job. The panel's location sets how much abrasion and moisture the finish has to survive, and that points you at one of four families.
| Where the plywood lives | Best paint type | Why it wins there |
|---|---|---|
| Furniture and cabinets | Acrylic latex enamel, or an oil/alkyd enamel for a harder shell | Self-levels to a smooth film, resists handling wear, cleans up well |
| Interior walls and ceilings | Satin or flat latex (acrylic) wall paint | Forgiving on large flat areas, low odour, fast recoat |
| Floors and stairs | Porch-and-floor enamel | Built for foot traffic and scuffing, holds up to repeated wear |
| Outdoors | Exterior-grade acrylic latex with UV inhibitors | Flexes through wet-dry and heat-cold cycles, fights fading and chalking |
The single rule under that whole table: a satin or semi-gloss sheen hides plywood grain and patches better than flat, and it wipes clean. Flat paint shows every football patch and grain shadow on a cabinet door. Save flat for ceilings.
Latex (acrylic) vs oil-based (alkyd) enamel
For cabinets and furniture this is the real fork in the road. Both work. They fail and shine in different places.
| Acrylic latex enamel | Oil / alkyd enamel | |
|---|---|---|
| Dry time | Fast, recoat in 4 to 6 hours | Slow, often 16 to 24 hours between coats |
| Hardness | Good, and modern formulas keep improving | Harder, glassier final shell |
| Cleanup | Soap and water | Mineral spirits |
| Yellowing | Stays true, including over white | Ambers over time, worst on whites in low light |
| Odour / VOC | Low | High, needs ventilation |
Pick acrylic latex enamel for white or light cabinets, fast project turnaround, and indoor work where ventilation is tight. Pick an alkyd enamel when you want the hardest possible surface on a high-touch piece and can wait out the cure. Water-based alkyd hybrids now split the difference, alkyd hardness with water cleanup and far less yellowing.
Why primer is not optional on plywood
Plywood is thirstier and busier than a sheet of MDF. The face veneer is real wood, so it has open grain, occasional resin pockets, and patches that all absorb paint unevenly. Roll colour straight onto bare plywood and you get a blotchy, grain-raised mess that needs twice the topcoat to even out.
A primer does three jobs at once: it seals the porosity so the topcoat sits on the surface instead of sinking in, it gives the paint a uniform base to grip, and a stain-blocking primer locks down tannins and resin that would otherwise bleed yellow-brown rings through a light finish. On softwood plywood with knots, that bleed-through is not a maybe, it is a when.
Three primer types cover almost every plywood job:
- Shellac-based primer — the strongest stain blocker, seals knots and resin bleed cold, dries fast. Best for problem softwood faces and water-stained panels.
- Oil-based primer — excellent adhesion and grain sealing, a half-step below shellac on stain blocking, slower to dry.
- Water-based stain-blocking primer — low odour, easy cleanup, good on most hardwood-faced plywood where bleed-through risk is mild.
Brand does not matter as much as type. A stain-blocking primer matched to your panel beats a premium topcoat over bare wood every time. We hear the same thing from our customers across furniture and cabinet shops: the jobs that come back as complaints are almost always the ones where someone skipped the primer to save an hour.
The prep sequence that decides the finish
Order matters here. Do these out of sequence and you sand off work you just did, or trap moisture under the film.
- Sand the face — start at 120 grit to knock down grain and roller-feel, finish at 220 for a smooth base. Wipe off all dust.
- Prime — one even coat of stain-blocking primer across face and edges.
- Fill the edge grain and voids — this is the step nobody wants to do and the one that decides everything. Cut plywood edges expose the layered core, which soaks up paint and moisture like a stack of straws. Skim wood filler or a thin spackle into the edge, let it dry, repeat if it sinks.
- Light sand — knock back the primer and filler at 220 grit. Dust off.
- Topcoat — two thin coats beat one thick one. Let each cure, not just dry, before the next.
Edge grain is the number-one failure point on painted plywood. A beautifully rolled face means nothing if the edges wick water up into the core and lift the film from underneath. Seal them like they are the part that matters, because they are.
Do you need to seal plywood before painting?
Usually a stain-blocking primer is the seal. It blocks bleed-through and locks the surface, which is what a separate sealer would do anyway. The case for a dedicated sealer is narrow: very resinous softwood faces, panels headed for high-humidity rooms, or raw edges that need a clear penetrating sealer worked in before filler. For a normal interior cabinet or shelf, primer is enough. A sealer underneath is belt-and-braces. Skip it.
Painting exterior plywood
Outdoors the finish faces what indoor work never does. Sun that chalks and breaks down the film. Water cycling into the panel and back out. Wood swelling and shrinking under the coat as the temperature moves. The paint has to flex with all of it and still block the UV.
Use an exterior-grade acrylic latex with UV inhibitors. Acrylic stays flexible through wet-dry and freeze-thaw cycles where a brittle film would crack. Prime with an exterior stain-blocking primer, and seal every edge twice — exterior edge grain is where rot starts. Back-prime the hidden face too if the panel will be fixed against a wall or frame, so moisture cannot enter from behind.
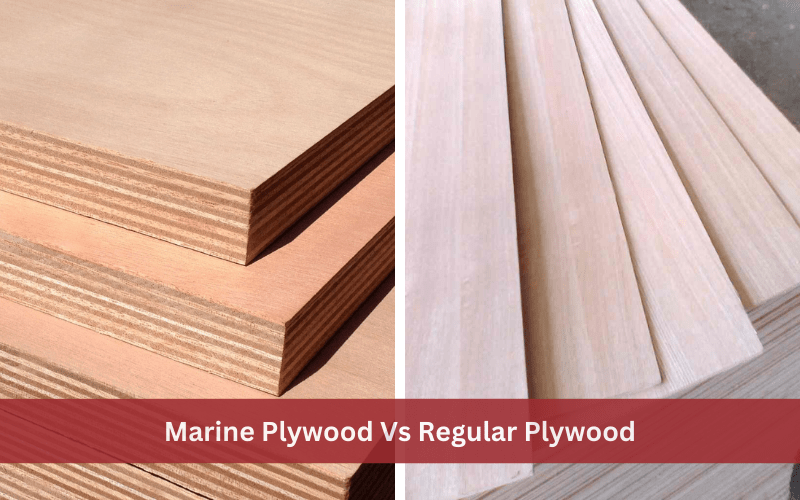
One honest line worth repeating, because the SERP leaders all say it and they are right: paint makes plywood water-resistant, not waterproof. A coating slows water; it does not stop a panel that was never built for wet service from eventually failing in it. That is why the panel grade you start with matters as much as the paint. If a project sees real water on a cycle — a boat locker, a dock box, a wet exterior trim detail — start from a moisture-rated panel rather than betting a coat of paint will carry an interior sheet through. Our guide on marine plywood vs regular plywood walks through where that line sits, and the outdoor plywood guide covers grade selection for exposed work.
Common mistakes that wreck a plywood paint job
- Skipping primer. The fastest route to blotchy colour and bleed-through. Always the first corner people cut, always the first thing to fail.
- Painting an unsanded B-grade face. Mill glaze and roller texture telegraph straight through the topcoat. Sand to 220 first.
- Ignoring the edges. Painted face, raw edges, and the core wicks moisture from the one place you forgot. Fill and seal them.
- Recoating before cure. Dry to the touch is not cured. Rushing the second coat traps solvent and softens the film for weeks.
- Flat paint on a high-touch piece. It marks and will not wipe clean. Satin or semi-gloss for anything hands touch.
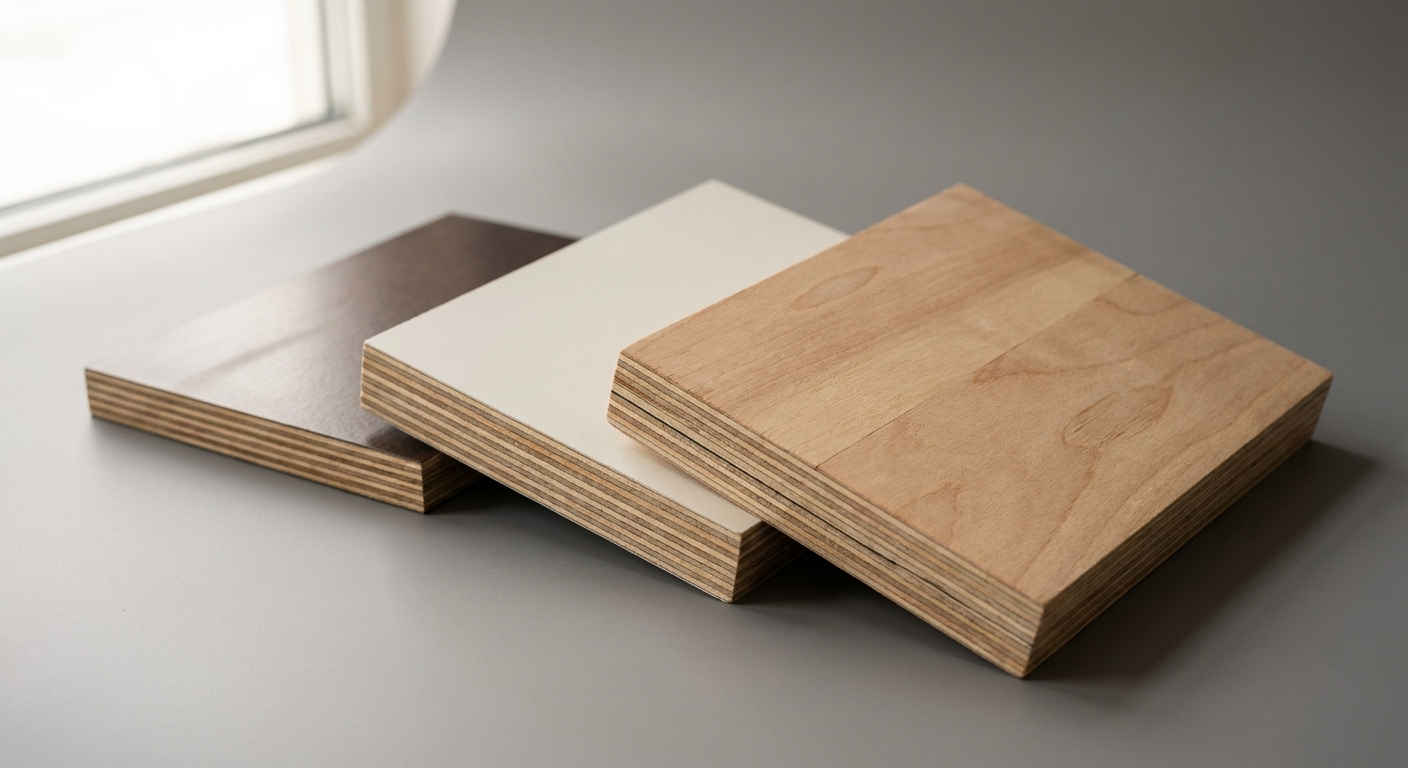
When the smarter move is a pre-finished panel
Painting makes sense for one-off furniture, cabinets, and site work where you want a specific colour. For repeat or industrial use — the same panel cycled through a job again and again — the question flips. There, a factory-applied surface removes the painting step entirely and gives a more durable, consistent face than anything a brush can lay down.
That is the logic behind overlaid and film-faced plywood: a phenolic surface film bonded at the mill that needs no paint at all. It is not a painting substrate and not a swap for a painted cabinet door — it is the answer when the goal is a tough, finished face out of the wrapper for formwork and high-rotation panels, with no on-site coating step. A note on terminology, since it trips people up: paint-grade MDO panels sold through North American suppliers use a kraft-paper overlay tuned specifically to take paint. That is a different product category from a film-faced concrete-forming panel, even though both carry a factory surface. Match the panel to the finish you actually need.
For most readers reaching this far, though, the takeaway is simpler. Grade the paint to the room, prime without exception, fill the edges, and give each coat time to cure. Do that and a sheet of plywood finishes as cleanly as anything in the shop. If you are choosing the panel itself before you ever reach for a brush, the plywood grades guide and our breakdown of plywood adhesives cover what to look for.
Category
how-to