How to Waterproof Plywood: 5 Effective Methods for Long-Term Protection
Plywood is a versatile material used in both indoor and outdoor construction projects. However, despite its strength and layered structure, plywood is not naturally waterproof. Exposure to moisture can cause it to swell, delaminate, or rot over time. If you're wondering how to waterproof plywood,…

Plywood is a versatile material used in both indoor and outdoor construction projects. However, despite its strength and layered structure, plywood is not naturally waterproof. Exposure to moisture can cause it to swell, delaminate, or rot over time. If you're wondering how to waterproof plywood, this guide will walk you through the best techniques to protect your materials and prolong their lifespan.
> Learn more: types of wood, Types Of Plywood, birch plywood, MDO plywood, hdo plywood
Why should you waterproof plywood?
Plywood consists of multiple thin wood layers (or veneers) glued together. Despite their tight bonding, these layers can become entry points for water. Once moisture infiltrates, it can lead to swelling, delamination, and even mold growth.
For example, the plywood lid of this outdoor storage bench began to delaminate after water from overflowing gutters seeped onto its front edge. The water dissolved the wood filler between the trim and the plywood edge, then penetrated the plywood layers.
> Get more details: composite decking colors, hardwood vs softwood, wood structure, how to build a wood truss

How to waterproof plywood?
What can I put on plywood to make it waterproof? To waterproof plywood, apply an epoxy coating, polyurethane sealant, or waterproof glue for strong moisture resistance. Using waterproof paint, varnish or a waterproofing spray can also help protect the surface. For long-term durability, consider pressure-treated plywood designed for outdoor use. The best method depends on the level of water exposure and project requirements.
Many different techniques can be used to waterproof plywood, depending on your project needs.
- Epoxy: Coat the plywood with epoxy resin for strong water resistance.
- Waterproof glue sealant: Apply a Type-A waterproof glue sealant for durable protection.
- Polyurethane: Seal the surface with polyurethane to block moisture.
- Waterproof paint: Use waterproof paint to create a moisture barrier.
- Waterproofing spray: Apply a waterproofing spray for easier and lighter protection.
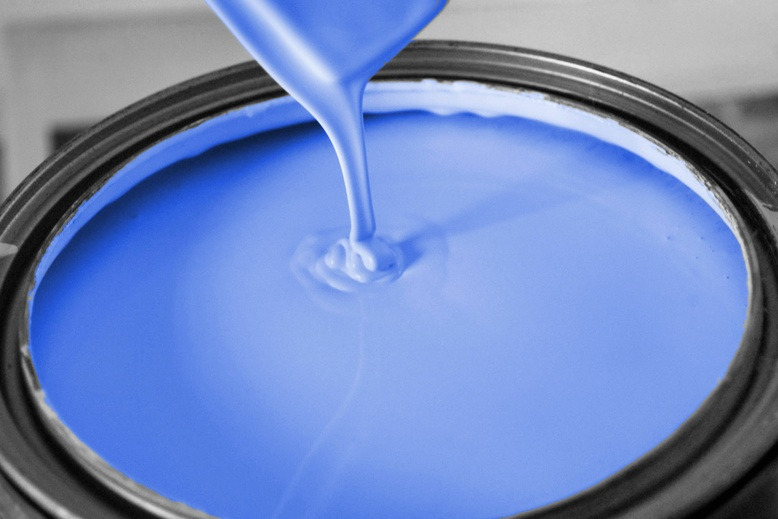
Latex Paint
While not the most durable option, a common method for waterproofing plywood is using water-resistant paints, such as latex paint varnishes.
Applying latex paint over plywood creates a protective layer on the surface, preventing moisture from seeping into the wood. Both indoor and outdoor latex paints are available, so you can find the right type to complement your plywood project. This treatment can enhance the aesthetics of your plywood, highlighting the natural grain of the wood.
Latex paint is known for its flexibility, quick drying time, resistance to UV damage, and ease of use. Additionally, it provides some level of termite resistance.
Overall, this method is a solid option for those looking to construct simple indoor and outdoor structures with waterproofed plywood.
Epoxy Coating Method
Epoxy forms a highly durable coating on plywood. Epoxy is a thermosetting resin that, when mixed with a hardener, is known for its strong adhesive properties, making it ideal for both binding materials and waterproofing.
The impermeable nature of epoxy coatings ensures plywood remains unaffected by prolonged moisture exposure. Additionally, epoxy offers a range of finishes, similar to polyurethane.
However, despite its advantages, epoxy is less effective at waterproofing compared to Type-A glue sealant. Consequently, multiple coats of epoxy are necessary to ensure complete sealing of all plywood surfaces.
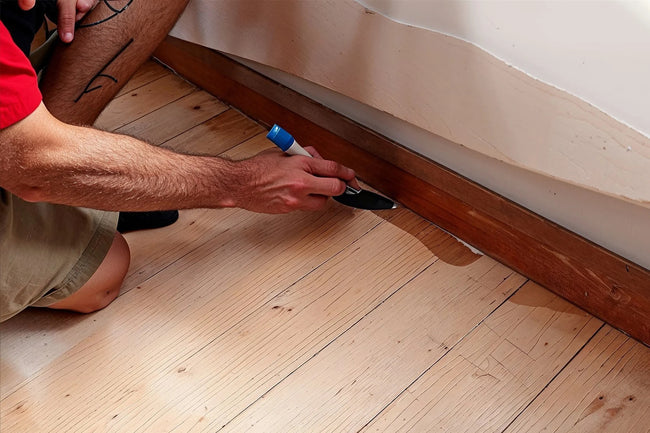
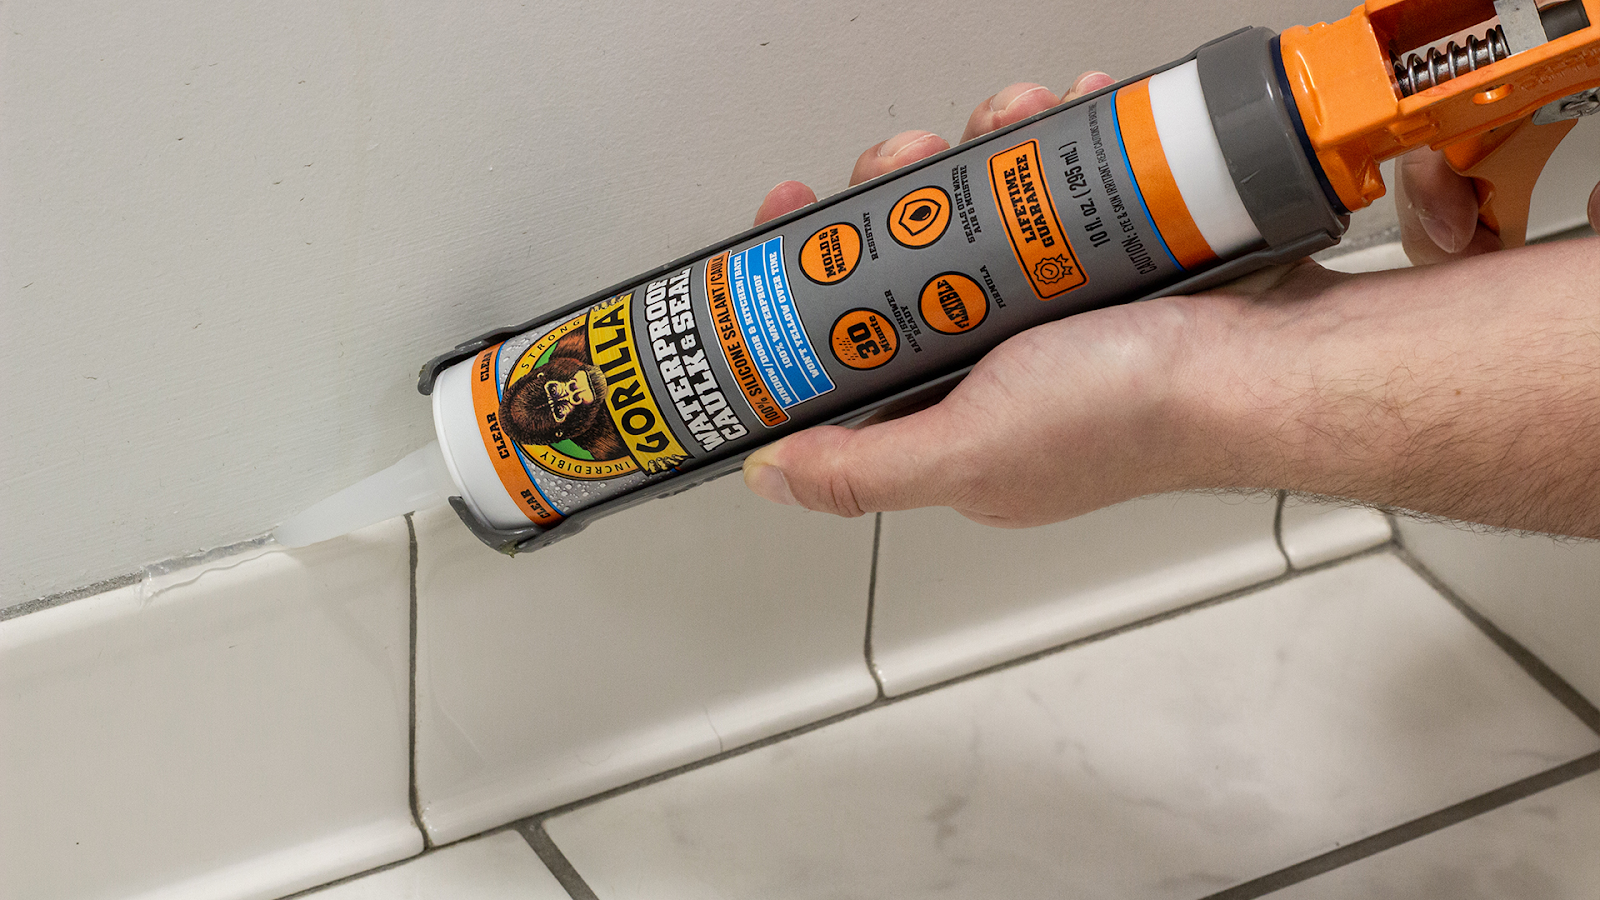
Glue Sealant
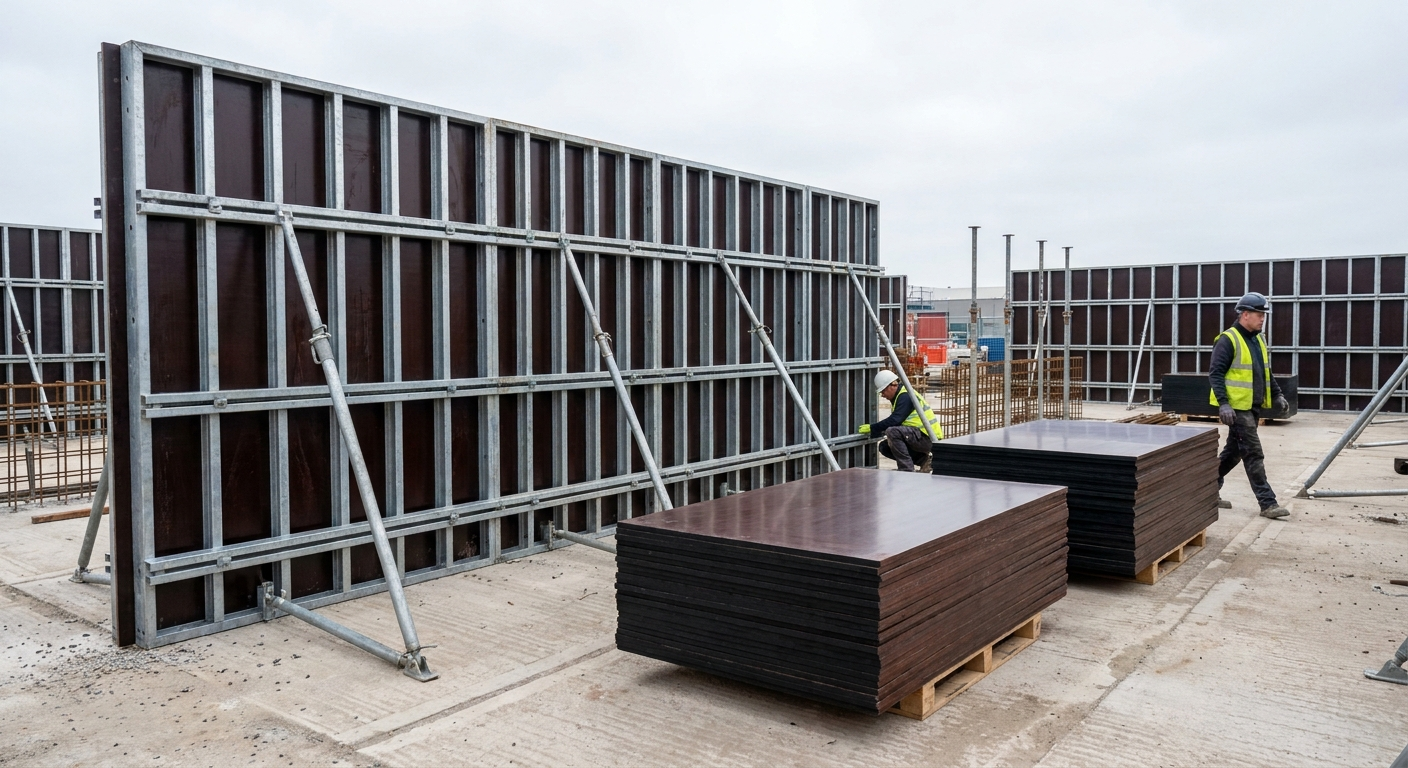
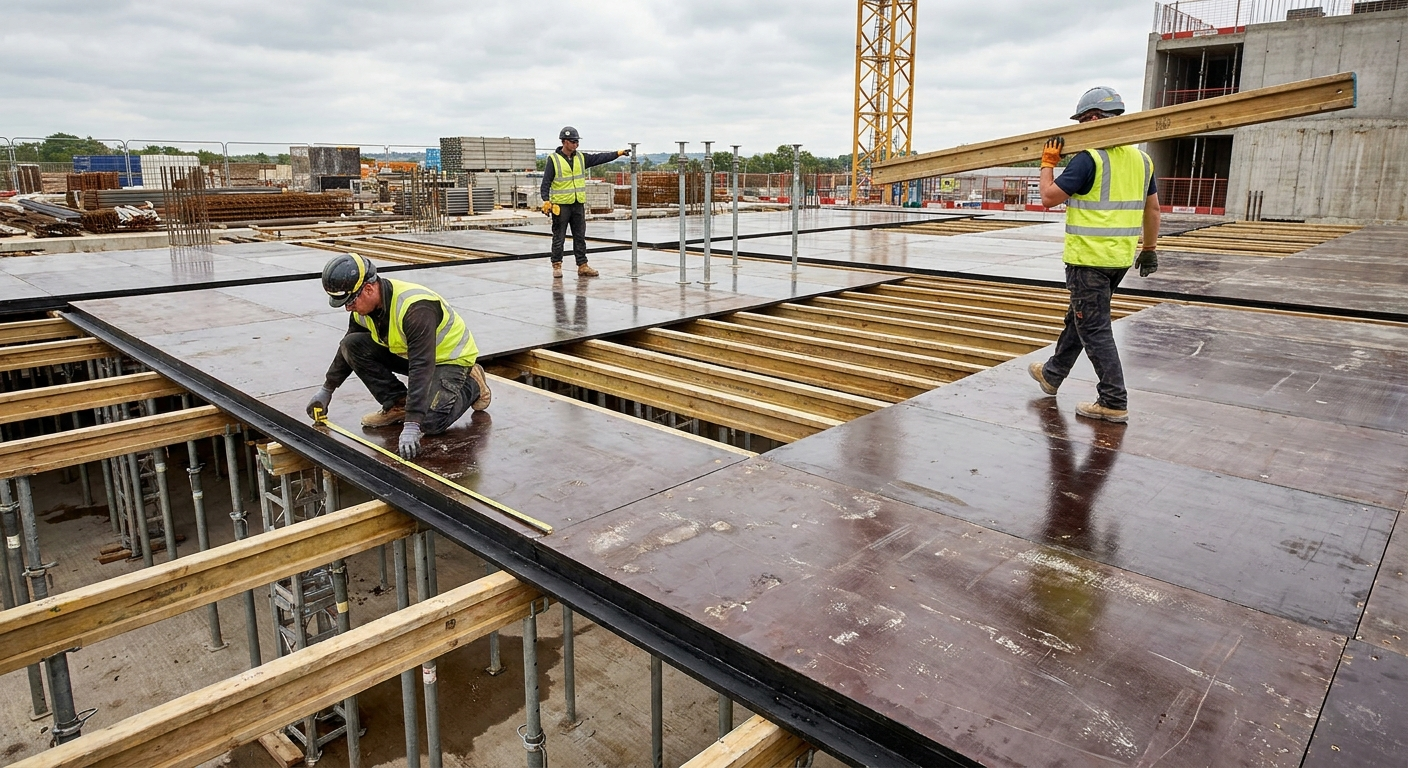
For the most durable and effective way to waterproof plywood, apply a Type-A waterproof glue sealant. This method is commonly used by reputable plywood suppliers, especially for marine and heavy-duty plywood.
Type-A glue sealant is a versatile adhesive specifically designed to bond with and seal a variety of materials, including wood and wood composites. When plywood is sealed correctly with A Bond glue, it becomes waterproof.
This sealant provides a moisture-resistant barrier, ensuring your plywood remains dry and undamaged. Unlike latex paint, Type-A glue sealant penetrates deep into the pores of the plywood to prevent water intrusion. This deeper application results in a much longer-lasting waterproof treatment.
Due to its effectiveness and specialized design for heavy-duty waterproofing, Type-A glue sealant is one of the more expensive options available.
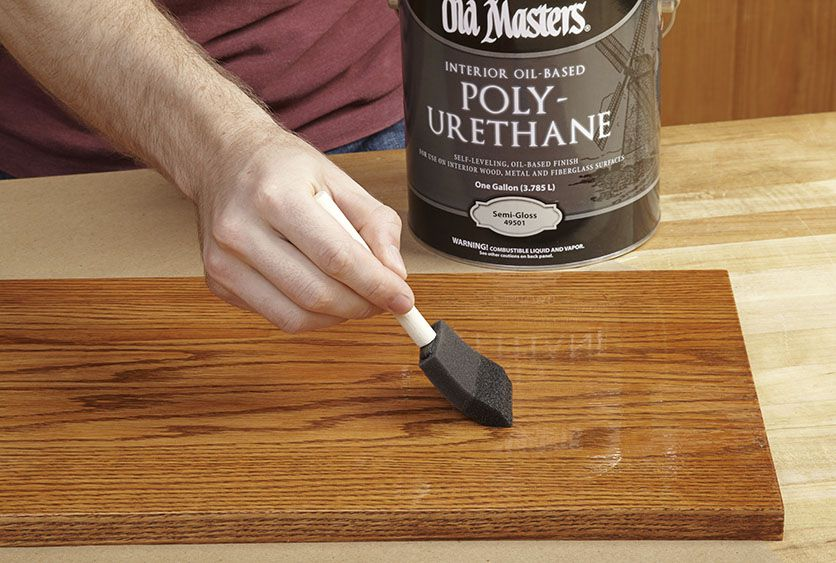
Polyurethane
Another effective method for waterproofing plywood is applying a polyurethane finish. Polyurethane is a polymer compound widely used as a protective coating for wood surfaces.
This treatment is especially valued for its durable, water-resistant properties. Polyurethane is available in both oil-based and water-based variants, allowing you to choose between a thicker or thinner coat. Additionally, it offers a range of finishes, including matte, semi-gloss, and high-gloss, giving you flexibility in the final appearance of your project.
When applied to plywood, polyurethane forms a clear or pigmented film that safeguards the wood from moisture and wear. However, unlike Type-A glue sealants, it does not penetrate deeply into the wood’s pores.
Therefore, polyurethane is most effective at combating moisture rather than repelling direct water exposure.
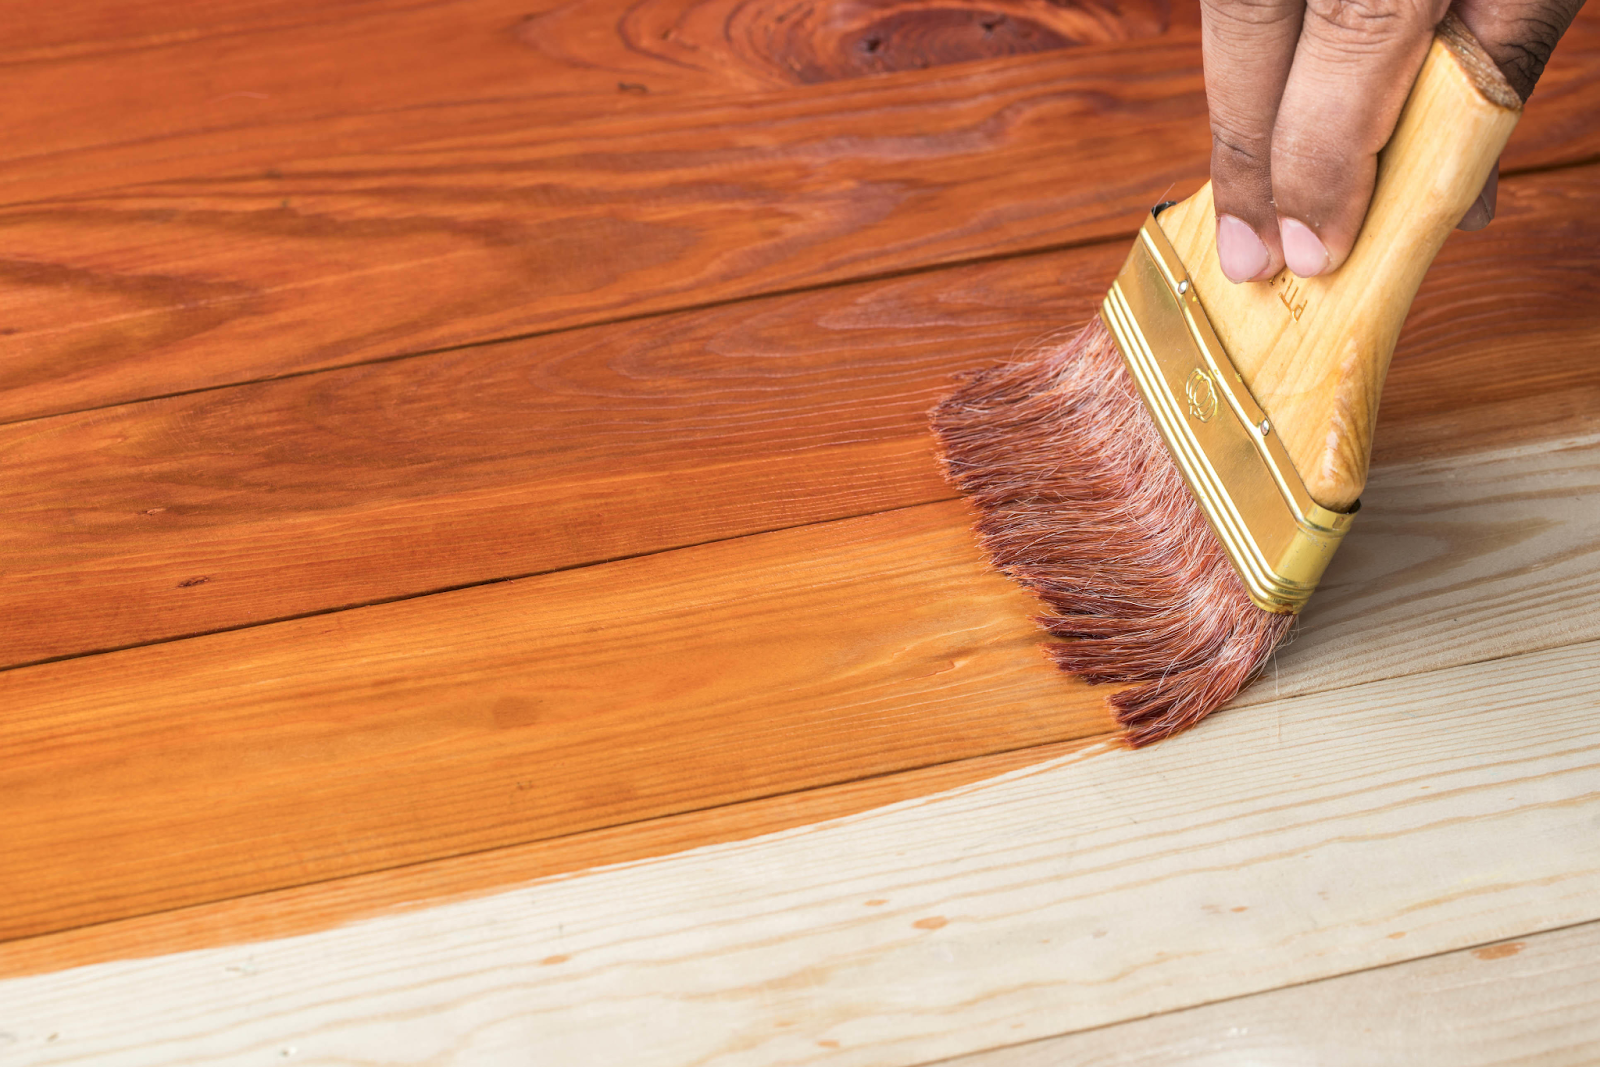
Wood Oils
Wood oils are an excellent choice for waterproofing plywood in indoor projects. Derived from various plants or nuts, these oils penetrate deep into the plywood fibers, enhancing its natural beauty while providing a water-resistant coating.
Natural wood oils also nourish the plywood from within, making them ideal for wood restoration projects. Commonly used natural-origin wood oils include linseed and tung oil, which not only nourish the wood but also protect it from decay and moisture over the long term.
Although not suitable for outdoor projects exposed to heavy rain, wood oils offer a professional finish for indoor projects that may encounter light moisture. In short, wood oil provides a natural way to waterproof your plywood.
Advice when waterproofing plywood
Here are some additional tips and notes you should keep in mind when waterproofing plywood:
- Proper ventilation and drainage to prevent moisture buildup that can lead to spoilage. Make sure the area around your project has adequate ventilation and drainage.
- Waterproof plywood needs regular maintenance to ensure longevity. Regularly check your project for signs of damage and reapply Waterproofing solutions upon request.
- There are many alternative waterproofing methods available, such as fiberglass and cement coating. However, they are not suitable for every application and require specialized skills and tools to apply.
- Follow proper waterproofing techniques and using the right products, you can ensure that your plywood project stays strong and durable.
> Read more: Can You Stain Pressure Treated Wood?
People Also Ask
Can you fully waterproof plywood?
While you can significantly improve plywood's water resistance, no method makes it 100% waterproof forever. However, using marine-grade plywood, applying multiple layers of epoxy, polyurethane, or waterproof sealant, and sealing edges and joints can provide long-lasting protection. Proper installation and maintenance further enhance its durability in wet conditions.
Which type of plywood is waterproof?
Marine plywood is the best option for waterproof applications, designed for prolonged water exposure, such as boat building. For general moisture resistance, external-rated plywood is also suitable.
What is the cheapest way to waterproof plywood?
The cheapest way to waterproof plywood is by applying a waterproof sealant or paint. Using water-based polyurethane or oil-based paint/varnish offers effective moisture protection at a low cost.
How do you permanently waterproof plywood?
To permanently waterproof plywood, sand the surface, clean it thoroughly, and apply a waterproof primer. Then, coat it with multiple layers of epoxy resin, polyurethane, or a waterproof sealant, ensuring full coverage, especially on edges and joints. For maximum durability, consider marine-grade plywood or pressure-treated wood for outdoor or high-moisture environments.
What is the most rot resistant plywood?
AB marine-grade, pressure-treated plywood is the most rot-resistant type. It provides excellent protection against fungal decay, is approved for saltwater use, and is safe for both human and aquatic environments.
In the above article, VINAWOOD has solved the question of how to waterproof plywood with you. Hopefully, with the above information, you can find the most suitable outdoor plywood waterproofing for yourself. If you want to know more ways to seal plywood for indoor use, please visit VINAWOOD’s website.
VINAWOOD – Vietnam Plywood Supplier & Manufacturer