Concrete Blistering: Causes, Prevention, Repair — and Where Formwork Actually Fits
Concrete blistering is hollow surface bumps on a troweled slab, caused by sealing the surface too early over rising bleed water or entrapped air. Here are the real causes, how to prevent it, how to repair it, and the narrow role forming honestly plays.

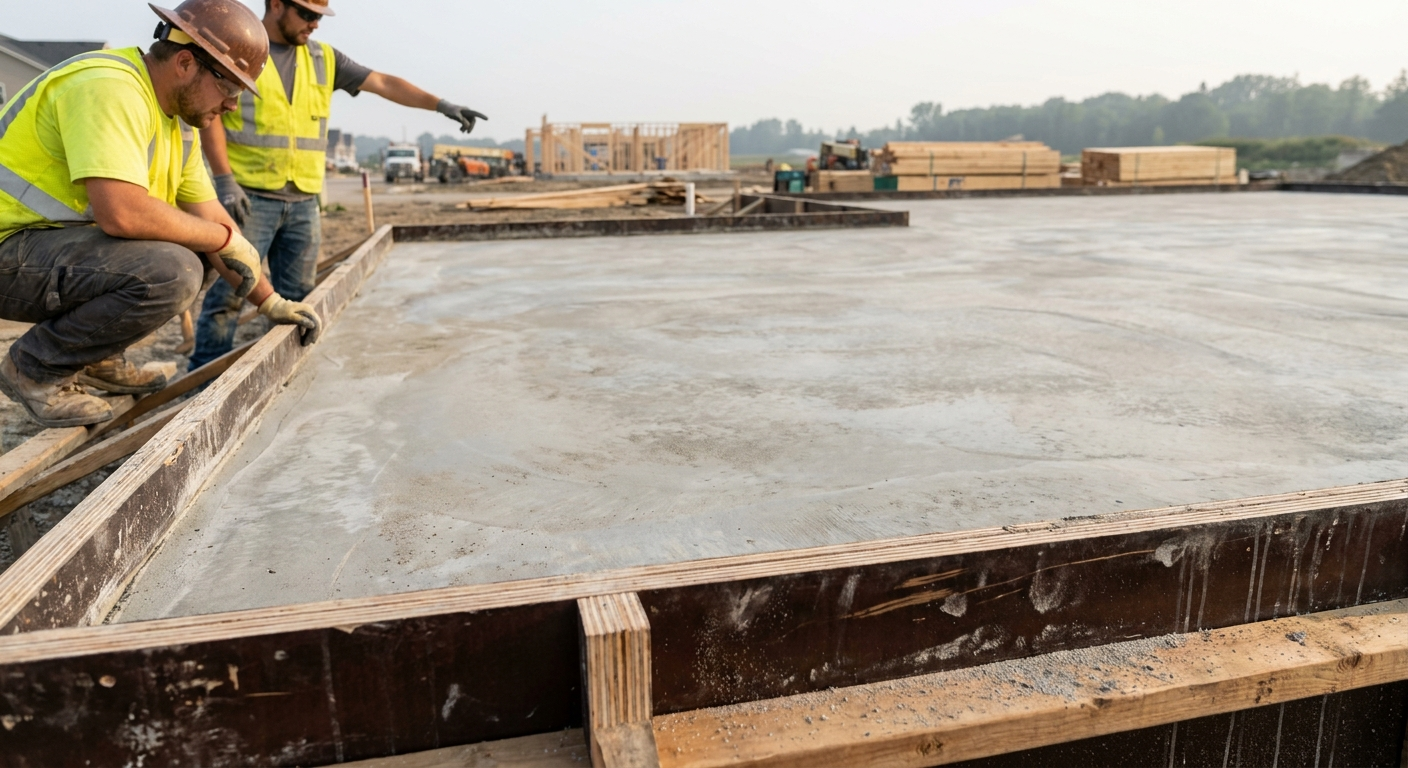
A blistered slab was usually finished too well, too soon. That is the paradox of it. The trowel closed and densified the top into a tight skin while bleed water and air were still rising underneath, and the trapped fluid lifted that sealed skin into low, hollow domes a quarter inch to an inch across. Tap one and it rings drummy. They turn up on garage slabs, warehouse floors and exterior flatwork, and they rattle anyone who just smoothed a surface and watched it start to lift an hour later.
The honest version, from a plywood manufacturer's seat, is that blistering is a finishing-and-timing defect. It happens at the top of the slab, during troweling, because the surface was closed before the concrete underneath had finished giving up its bleed water and air. The form face that shaped a wall or the underside of a slab has nothing to do with the troweled top where blisters form. Forming does fit, narrowly, and we get to exactly where.
What concrete blistering is
A blister is a hollow rise in the finished surface. During finishing, the trowel seals and densifies the very top of the slab into a tight skin. If bleed water or entrapped air is still working its way up when that skin closes, it cannot escape. It collects in pockets under the sealed surface and lifts it into low domes. Break one open and you find a thin shell of mortar over a small void, with damp or soft material underneath. That hollow-when-tapped quality is the tell, and it is what separates a blister from a solid bump.
Size runs from small dime-sized spots to broader patches an inch or more across. Sometimes a slab has a scatter of small ones; sometimes a whole area lifts in a sheet of connected blisters, which points to a more widespread delamination of the troweled layer. The blisters often are not visible until after the surface has been troweled smooth, which is part of why they frustrate finishers: the slab looked right, then it did not.
Why it matters: mostly cosmetic, occasionally a weak top layer
Most blistering is a surface and cosmetic problem. The blisters are small, the void under them is shallow, and the slab below is sound. On a floor that will be covered, or a back-of-house slab where appearance does not matter, scattered small blisters may not need any action at all beyond noting them.
The case to watch is widespread blistering, because a large area of connected blisters may indicate that the whole troweled top layer has delaminated from the concrete below. A delaminated surface layer can break down under traffic, and on a floor that has to take forklift or foot wear that is a durability question rather than a looks question. The sensible response is proportionate: tap and map the affected area, judge whether you are looking at a few isolated blisters or a debonded sheet, and decide from there. No need to panic over a handful of dime-sized spots, and no need to ignore a square yard that all sounds hollow.
The real causes
Blistering has a short list of well-understood causes, and they all sit with the mix, the finishing timing, and the surface conditions during the pour. None of them is the form panel.
- Finishing over bleed water, or troweling too early. The leading cause. Closing and sealing the surface with a trowel while the concrete is still bleeding traps the rising water and air under a tight skin. The bleed has to finish, and the surface has to lose its sheen, before hard troweling starts. Seal it early and you build the blister in.
- Over-troweling and burnishing. Working the surface too hard, or making too many trowel passes, densifies and seals the top prematurely even when the timing looked acceptable. A burnished, over-tight surface is a sealed surface, and a sealed surface traps whatever is still trying to rise.
- Fast surface drying. Hot, windy, or low-humidity conditions dry and stiffen the very top of the slab faster than the body of the concrete sets. The crew reads the stiff surface as ready and starts finishing while the concrete below is still plastic and still bleeding. The mismatch between a crusted top and a soft interior is a classic blister setup.
- Excess entrained air on exterior slabs. Air-entrained concrete, specified for exterior flatwork to resist freeze-thaw, carries more air that wants to rise during finishing. Hard steel-troweling an air-entrained mix presses and seals that air under the surface instead of letting it vent, and blistering follows. This is why air-entrained slabs need a different finishing approach, covered below.
- Inadequate or uneven vibration and consolidation. Poor consolidation leaves more entrapped air in the upper concrete than there should be, giving the finishing stage more trapped air to deal with and more to push into blisters.
Every cause on that list is a placement, finishing, mix, or weather condition. Four of the five are about the timing and technique of the troweling itself. The form that shaped the concrete is not on the list, and that is not an accident.
Where formwork honestly fits
Blistering is a flatwork and finishing defect. It forms on the troweled top surface of a slab, which is finished from above, long after any forming material has done its job shaping the sides or the soffit. The form face does not touch the wearing surface where blisters appear, so its role in causing or curing blistering is essentially nil. A buyer who has been told that the right plywood prevents slab blistering has been sold a story, the same way they would have been on dusting or scaling.
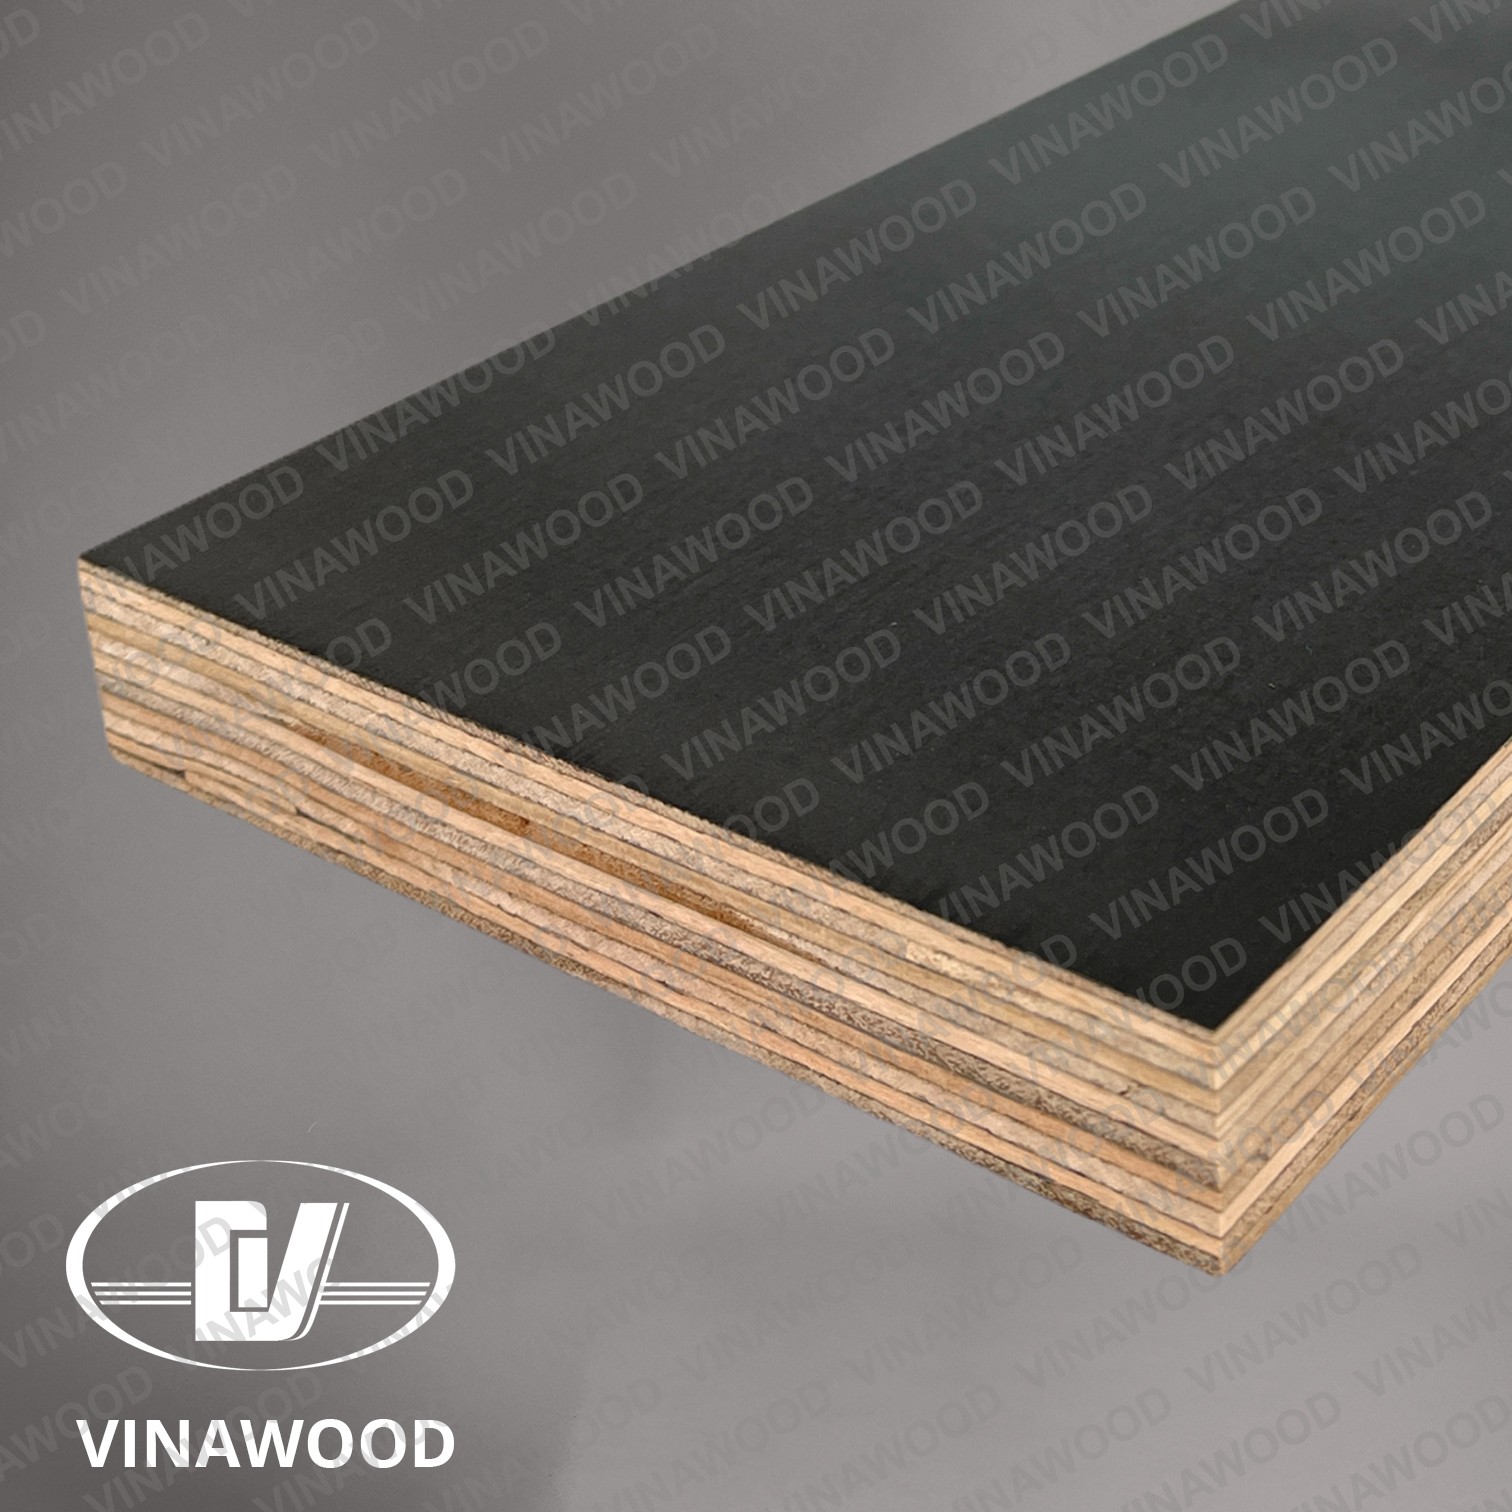
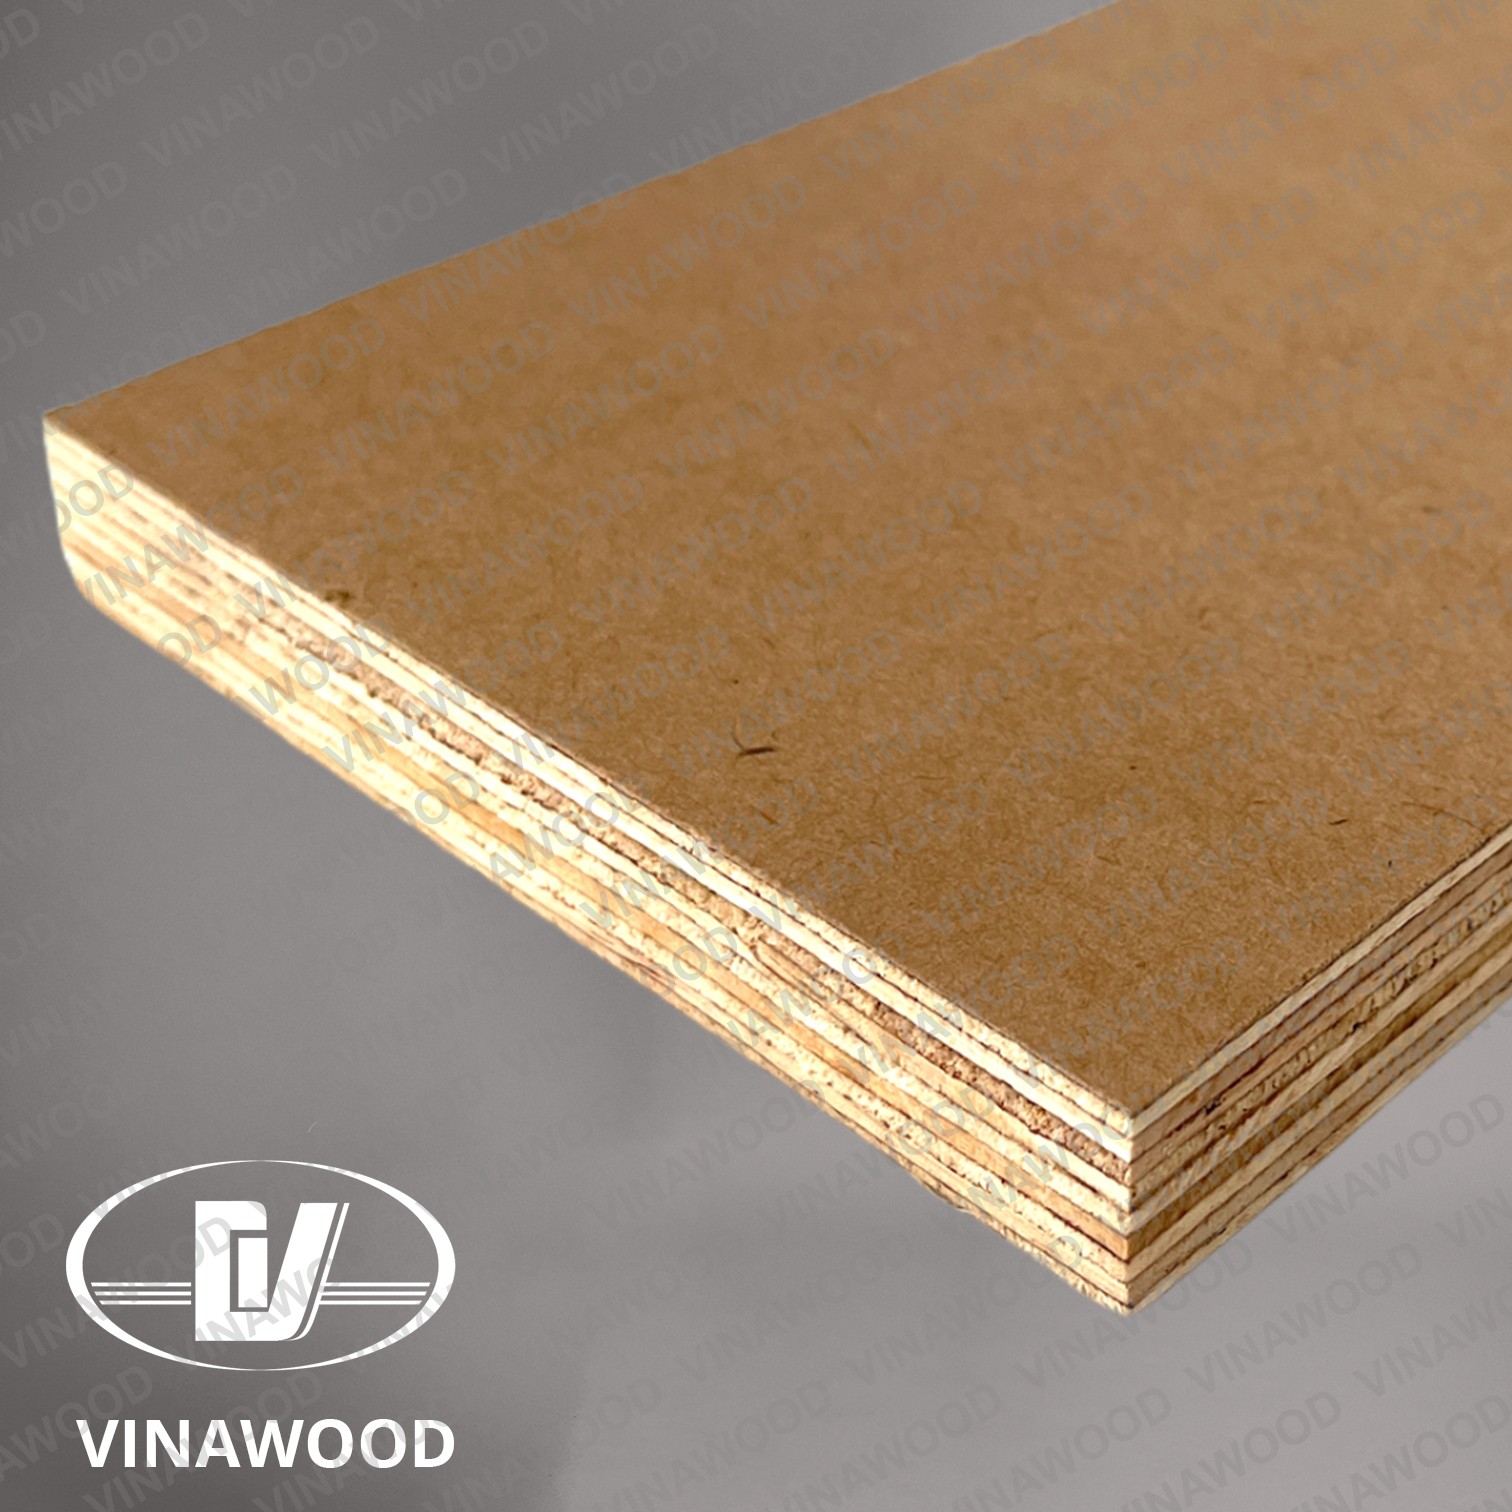
Where forming does relate to surface quality is on formed faces, not troweled tops. A sound, leak-free form face with tight joints supports overall surface quality on the walls, columns, and soffits it shapes. It gives those formed surfaces a clean, consistent boundary. That is a genuine contribution, and it is the right place to talk about panel quality. It just is not the same surface where blistering happens. From a Vietnamese mill's seat, we would rather say that plainly than let a buyer believe a panel choice fixes a troweling problem: when a slab blisters, the trail leads to the finishing timing and the surface conditions, not to the sheet that formed the pour. If your concern is the as-cast look of a formed wall rather than a troweled floor, our guide to fair-faced concrete covers how the form face transfers to that finish.
How to prevent it
Prevention is finishing discipline, and most of it is about timing and tool choice rather than materials.
- Wait for the bleed water to dissipate. Do not start hard finishing until the bleed water has risen and evaporated and the surface sheen is gone. This single habit prevents the most common form of blistering. Floating can begin when the surface will support the operation; hard troweling waits longer still.
- Float before you trowel, and pick the right float. On air-entrained concrete and exterior flatwork, use a magnesium or wood float rather than going straight to a steel trowel. A magnesium float opens the surface and lets entrapped air vent; an early steel-trowel pass seals it in. Match the tool to the mix.
- Do not over-trowel. Use the minimum passes needed to close the surface to the specified finish. Each extra burnishing pass tightens the skin and raises the blister risk.
- Control evaporation. In hot, dry, or windy conditions, slow the surface drying so the top does not crust ahead of the body. Windbreaks, an evaporation retarder or monomolecular film, fogging, or a damp cover keep the surface and the interior setting closer together so the crew is not fooled into early finishing.
- Consolidate properly. Even, adequate vibration during placement reduces the entrapped air that finishing later has to contend with.
If a blister starts to appear during finishing, the field response is to stop troweling, open and release the surface with a float to let the trapped air and water escape, and resume finishing only once the bleeding has genuinely finished. Sealing harder over a forming blister makes it worse.
Blistering vs bubbling vs crazing vs scaling
| Surface condition | What it looks like | Root cause | Typical fix |
|---|---|---|---|
| Blistering | Hollow low domes on a troweled surface, drummy when tapped, dime-to-inch size | Surface sealed by early or over-troweling while bleed water or air still rising | Patch isolated blisters; grind and resurface widespread delamination |
| Bubbling (fresh concrete) | Wet bubbles forming on the surface during or just after placement | Air and bleed water venting through a still-plastic surface | Usually self-resolves; manage by finishing timing, not a repair |
| Crazing | Fine, shallow network of hairline cracks, like cracked glaze or a map pattern | Rapid surface drying and shrinkage of a thin surface layer | Mostly cosmetic; sealer or overlay if appearance matters |
| Scaling | Shallow flaking and peeling of the surface mortar | Freeze-thaw on a weak or over-finished surface, de-icing salts | Resurface or overlay after addressing the freeze-thaw exposure |
| Honeycomb | Rough, stony patches with exposed aggregate and open voids | Poor compaction, segregation, grout loss at form joints | Patch cosmetic; engineer assesses if it reaches rebar |
The line that trips people up most is blistering versus bubbling. Bubbling is what you see live on the surface during placement, air and water venting through concrete that is still plastic and open. Blistering is what happens when that venting is blocked by a surface that was closed too soon, so the air and water lift the skin instead of escaping through it. Same fluids, different outcome, decided by whether the surface was sealed at the wrong moment. For the rougher void defects, our guides to honeycomb in concrete and powdery concrete dusting cover those in full, and they sit in the same surface-defect family as blistering.
How to repair blistered concrete
The repair depends entirely on how much of the surface is affected, so the first step is always to define the extent.
- Map the affected area. Tap across the slab and mark every spot that sounds hollow, not just the blisters you can see. This tells you whether you have isolated blisters or a debonded sheet.
- Isolated small blisters. Chip back to the void, remove the loose shell and any soft material underneath, dampen the area, and fill with a polymer-modified patching compound or an epoxy mortar matched to the floor's use. Feather it flush and cure it. For a handful of dime-sized blisters on a sound slab this is a quick, durable fix.
- Widespread delamination. Where a large area is debonded and hollow, patching will not hold, because the weak troweled layer under the patches keeps failing. Grind or shot-blast the delaminated surface back to sound concrete and apply a bonded overlay or topping suited to the traffic. This is an assessment and resurfacing job, not a spot repair.
The judgment that matters is matching the repair to the depth and the spread. A patch on isolated blisters lasts; a patch over a square yard of delaminated surface buys a little time and then the blisters come back through. If the area is large or the floor is structurally important, get it assessed before resurfacing.
Blistering on different slabs
Where blistering shows up points back to the same short list of causes. On interior floor slabs finished hard for a smooth troweled surface, the usual driver is early or over-troweling, sometimes combined with a fast-drying surface from heating or air movement in an enclosed space. On exterior flatwork, the air-entrained mix is the extra factor, and the fix is the float-first finishing approach so the entrained air can vent rather than being sealed in by a steel trowel. On power-troweled industrial slabs, the speed and pressure of mechanical troweling make timing even more important, because a machine seals a surface faster and harder than a hand trowel does. Each setting points back to finishing timing and tool choice, which is where blistering is won or lost.
Sound forming for the parts forming actually shapes
Blistering is a troweled-surface defect, decided at finishing and cure, and forming plays no causal part in it. What forming does decide is the quality of the formed surfaces, the walls, columns, and soffits, where a clean, non-absorbent film face and tight, leak-free joints give the concrete a sound, consistent boundary. Vinawood manufactures film-faced and phenolic formwork plywood in Vietnam, with factory edge-sealing and 100% individual sheet inspection across the range. North American contractors working to imperial sizes and ACI finish classes can look at the HDO plywood range, where the high-density overlay holds a clean face across high-rotation pours; for matte as-cast concrete on formed faces, the MDO plywood range carries a thicker matte phenolic surface film than standard glossy film-faced panels. For finish-critical, repeat-use forming, Pro Form is a WBP phenolic panel to EN 636-3 rated up to 20 reuse cycles. None of these prevents slab blistering, which is finished from the top long after the form has done its job. What good forming gives you is a sound, well-shaped formed surface to start from. For a factory-direct quote with your panel sizes and project volume, contact our sales team.
Category
guides
Related Markets
Related Countries
Related Products

▶Sources & References (3)
- Blisters on Concrete Slabs (CIP 13) — National Ready Mixed Concrete Association (2004)
- Concrete Slab Surface Defects: Causes, Prevention, Repair (IS177) — Portland Cement Association (2001)
- Guide for Concrete Floor and Slab Construction (ACI 302.1R) — American Concrete Institute (2015)