“Can You Stain Pressure Treated Wood” is a common question among homeowners looking to enhance the appearance and longevity of their outdoor structures. The answer is a resounding yes. Staining pressure-treated wood not only adds aesthetic appeal but also serves as a crucial protective measure against the elements.
By applying stain, you create a barrier that helps prevent issues like cracking, splitting, and warping caused by exposure to moisture and UV rays. Additionally, stain enhances the natural beauty of the wood, bringing out its rich colors and grain patterns. With a wide range of stain options available, you can customize the look of your deck, fence, or other outdoor wood structures to suit your style preferences. Regular maintenance, including cleaning and reapplication of stain, ensures that your pressure-treated wood remains vibrant and durable for years to come.
The Importance of Staining Pressure-Treated Wood
Protecting pressure-treated lumber with stain not only prevents cracks and splits triggered by seasonal shifts but also extends its lifespan while maintaining its innate charm. Pressure treating is key to shielding wood from the elements, deterring pesky insects, and combating the effects of aging. Although structures crafted from pressure-treated wood often lack visual finesse, a few simple techniques can transform them. By staining the surfaces, you not only enhance their beauty but also provide additional protection against wear and tear. Staining acts as a barrier, safeguarding the wood from cracking and splitting when subjected to seasonal changes.
Follow these steps to revamp your deck, fence, or other outdoor structures, and relish in their durability for years to come.
TOOLS AND MATERIALS Available on Amazon
– Pressure washer
– Deck cleaner (optional)
– Wood stain
– Paint stirrer
– Paint brush or roller
How to Stain Pressure Treated Wood
STEP 1: Prepare the surface you plan to paint
Begin by prepping the surface you intend to stain. For new wood, utilize a pressure washer to dislodge any dirt or residue. If dealing with older wood, invest in a wood cleaner tailored for decks or fences to eliminate stains and grime buildup. Ensure the wood is thoroughly dry before proceeding, as residual moisture from the treatment chemicals can affect the staining process. Drying times vary based on environmental conditions.
STEP 2: Test the moisture level of the wood
Before applying the stain, assess the moisture content of the wood. Conduct a bead test by dripping water onto the surface; if the water beads, the wood retains moisture. Alternatively, insert a nail into the wood; if water seeps out around the nail, the wood requires additional drying time.
STEP 3: Choose optimal weather conditions
Check the weather forecast to ensure dry conditions for at least 24 to 48 hours post-staining, as the stain requires sufficient drying time.
STEP 4: Ready your chosen wood stain for application
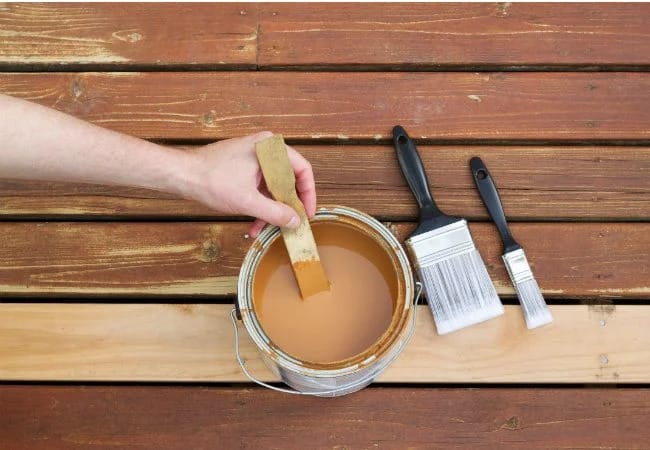
Thoroughly mix the stain before application. You can either request mixing at the hardware store or shake it well at home. Stir the stain frequently during application for optimal results.
STEP 5: Test the stain to make sure you like how it looks
Before proceeding with the entire structure, test the stain in an inconspicuous area. This ensures compatibility and allows you to preview the final result.
STEP 6: Apply at least one coat of stain
If satisfied with the test patch, proceed to stain the entire pressure-treated wood surface. Be mindful of back brushstrokes, as they contribute to additional coats and may cause color variation. When staining vertical surfaces like fences, start from the top to cover any drips or runs. Pay extra attention to exposed wood ends, as they may require additional staining due to higher absorption rates.
Vietnam Plywood
Vietnam Film Faced Plywood


